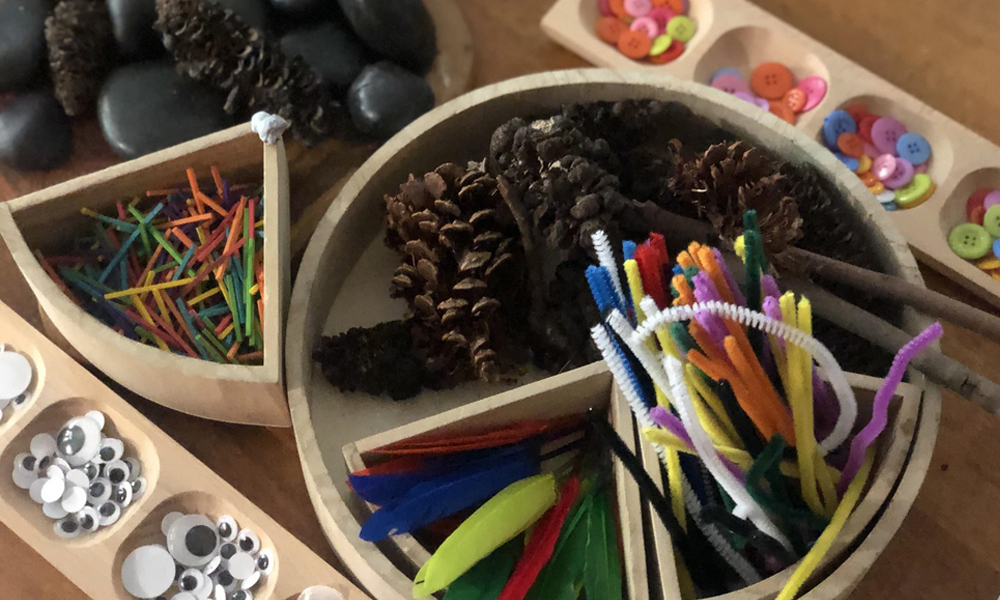
Visual art lessons have progressed over time, and art educators have pushed beyond the humble papier-mâché pig and into the realm of endless possibilities. A mixture of new mediums and technologies paired with classic favourites, a well-rounded art program can provide students with the necessary skills and tools, to not only become well-developed artists, but also critical thinkers with strong visual literacy capabilities.
There are many contemporary artists that explore the idea of light and sound as art elements and engage their audience with auditory moments and light sequences. For an artist like Haroon Mirza, electricity has become his medium of choice. I was lucky enough to experience his exhibition at ACCA Melbourne and I was particularly fascinated by the installation hanging from the ceiling which, to me, mimicked a modern-day chandelier. I stood and watched the light sequences for quite some time, and it made me think about the idea of electricity as an art medium and how I could implement it further into my primary art program.
Embroidery Characters with Copper Tape Circuits
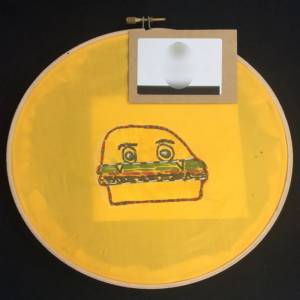
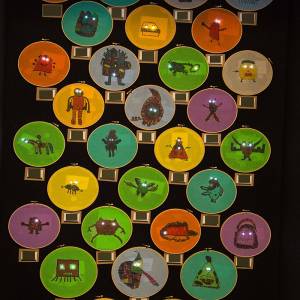
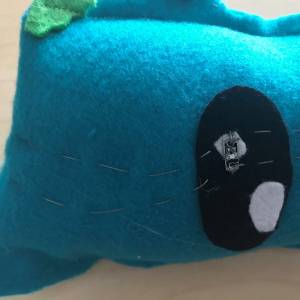
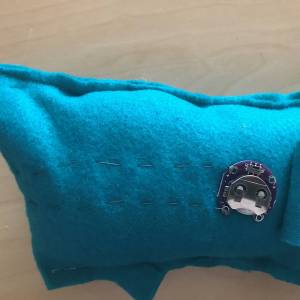
I initially began the investigation into this concept by exploring the use of copper tape circuits. The unit they were implemented into was one that explored characters using a variety of different provocations for idea development. The students developed many character designs using shapes, pavement cracks and ink blobs to decide on a design they would pursue further.
Their drawing was then transferred to fabric and they were placed in an embroidery hoop so that threads could be added to the final composition. The students were then shown how to create a parallel circuit using copper tape with the shape of this circuit being determined by the LED light placement in their design.
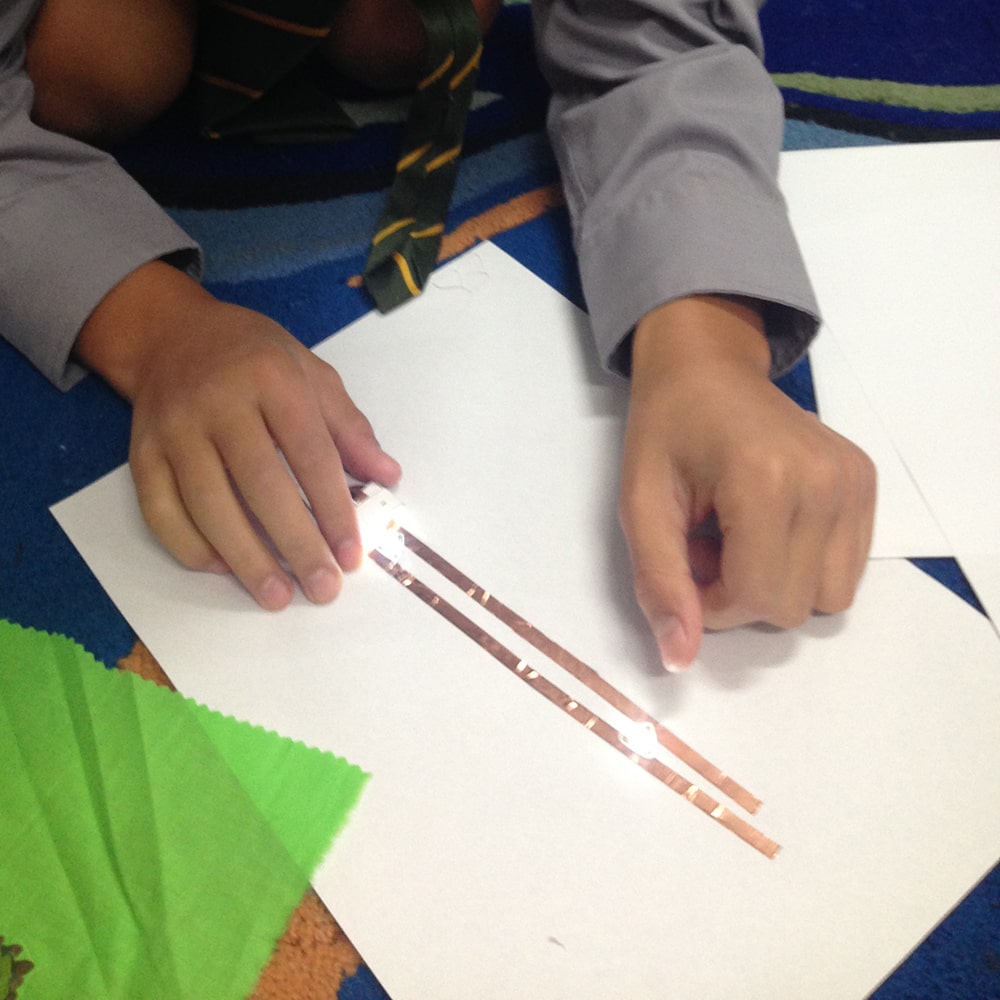
They learnt how to construct a chibitronics paper battery holder for a coin cell battery that would power their circuit and they adhered chibitronic LED light stickers. When applying the stickers, the students learnt about the importance of the positive and negative sides as they related to their battery and were able to problem-solve when a sticker didn’t work or wasn’t shining brightly. The delight on each student’s face when the circuit was then placed behind their fabric was priceless.
Featured Product:
Metallic Embroidery Thread – Pack of 24
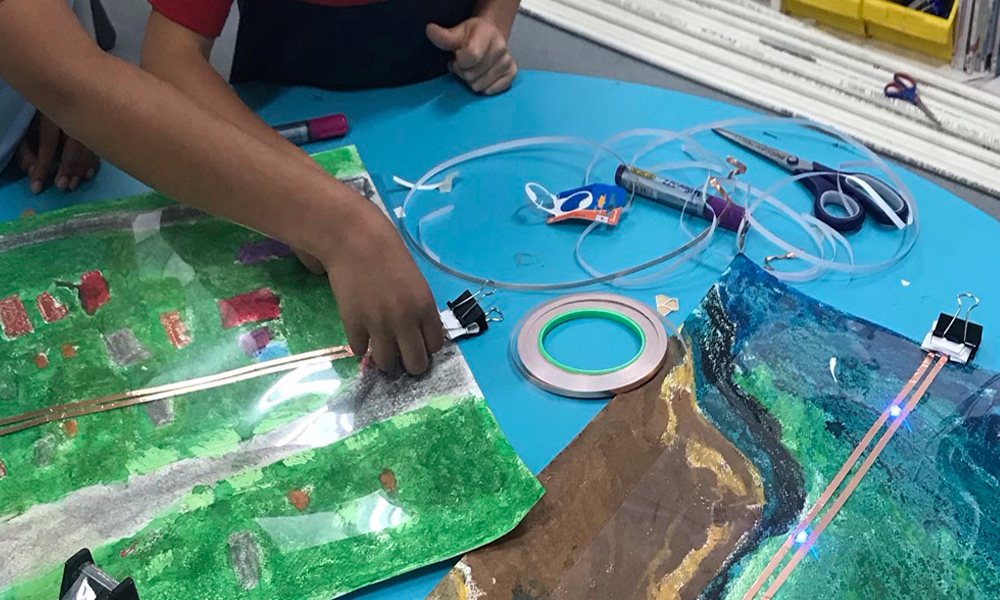
Google Earth Inspired Maps with a Copper Tape Circuit
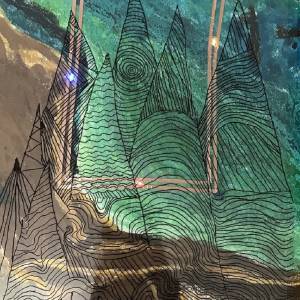
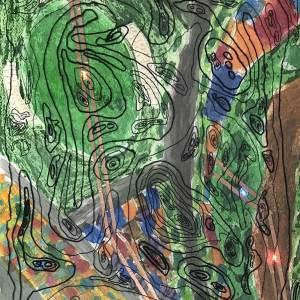
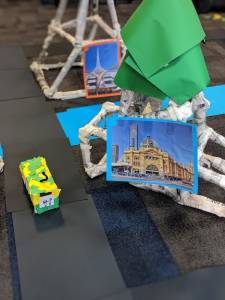
Seeing the great learning moments that were taking place when adding electricity as another art element, I implemented this notion into another unit where the circuit was viewed as more than just light. The students explored maps as not only a record of a place but also as an individual’s journey. This included places of importance to the student and it also enabled them to delve into typographical maps and cartography as provocations.
The students began by exploring places on Google Earth and they used either oil or dry pastels to represent them on cartridge paper. This process enabled each young artist to identify colour and shapes where they could enlarge elements of the map on their iPads with ease.
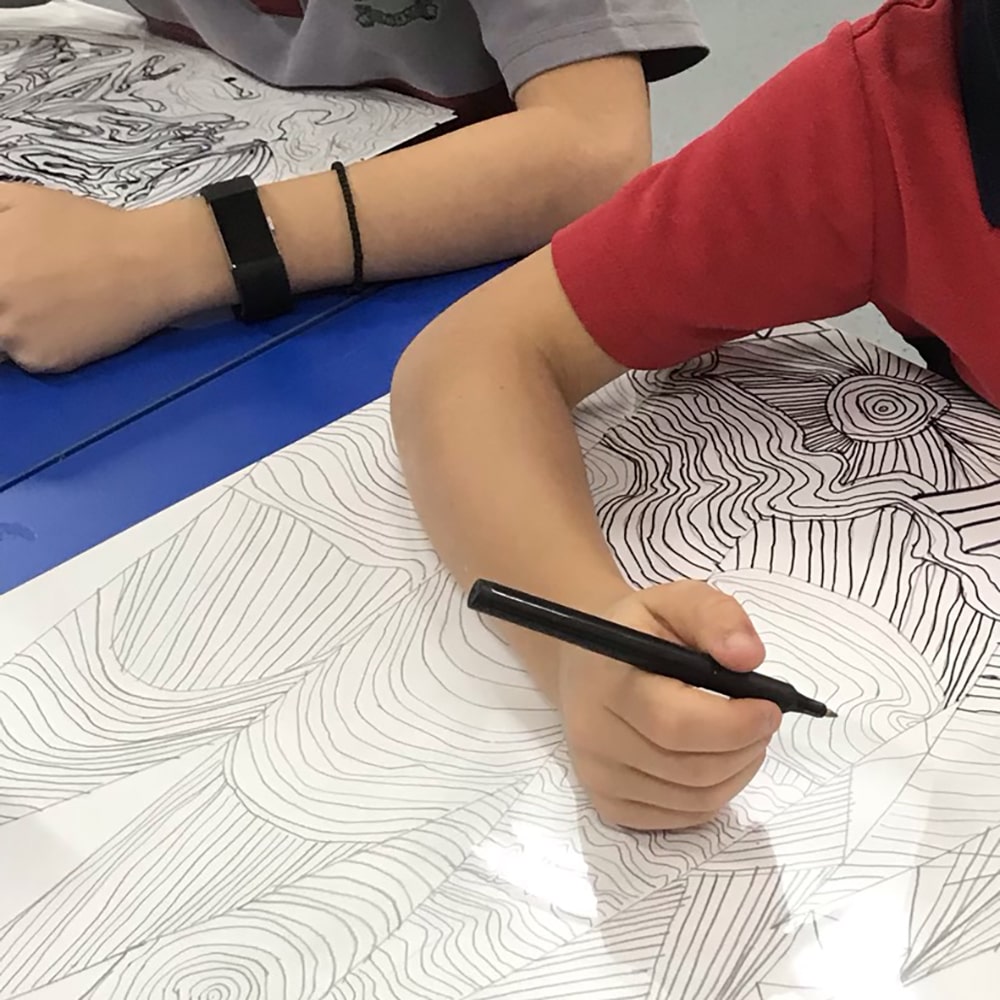
An acetate overlay was added to the artwork to represent the topographical component of a map. The acetate enabled the colour map underneath to be seen clearly whilst building patterns and layers to the artwork.
The final element added was the circuit. These were intended to represent the idea of a pathway or journey. These copper tape circuits were more complex than the characters as the artworks were larger, more angles and turns were made, and more lights were used. We soon realised that the connections needed to be firmly stuck together for each light on the circuit to shine brightly. A wonderful moment for them to problem-solve. The students really enjoyed adding the LED light component to their artwork, as it enabled them to represent the idea of mapping and journeys on their work whilst giving them the opportunity to learn about the mechanics of a circuit.
Featured Products:
Cartridge Paper 125gsm A2 – Pack of 500
Soft Pastels Portrait – Pack of 24
Oil Pastels Large – Pack of 12
Soft Sculpture Characters with E-Textiles Circuits
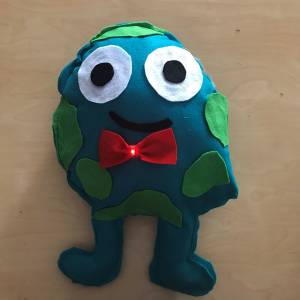
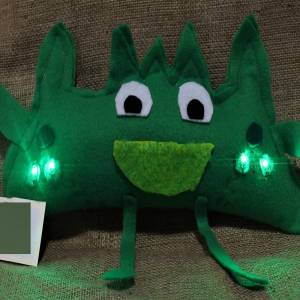
After exploring copper tape circuits, I wanted to find another way to add light to artworks that could be more organic in its shape rather than being determined by the copper tapes form. This is what led me to e-textiles.
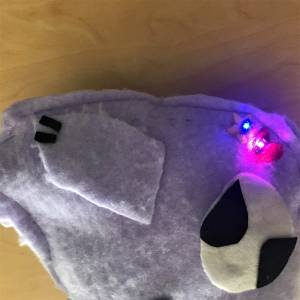
Again in a unit based around characters, the students followed the same brainstorming and designing process, but this time created their characters out of felt. They then needed to determine where their lights would go and were shown how to create parallel circuits with conductive thread that was sewn into the felt. This time, rather than a paper they used a LilyPad battery holder with a switch that was paired with the LilyPad LEDs. They had to make sure that the positive and negative terminals matched for their circuit to be a success.
Students found very creative places to put their lights within their character designs and we had glowing bow ties, sparkling cheeks and shining crowns.
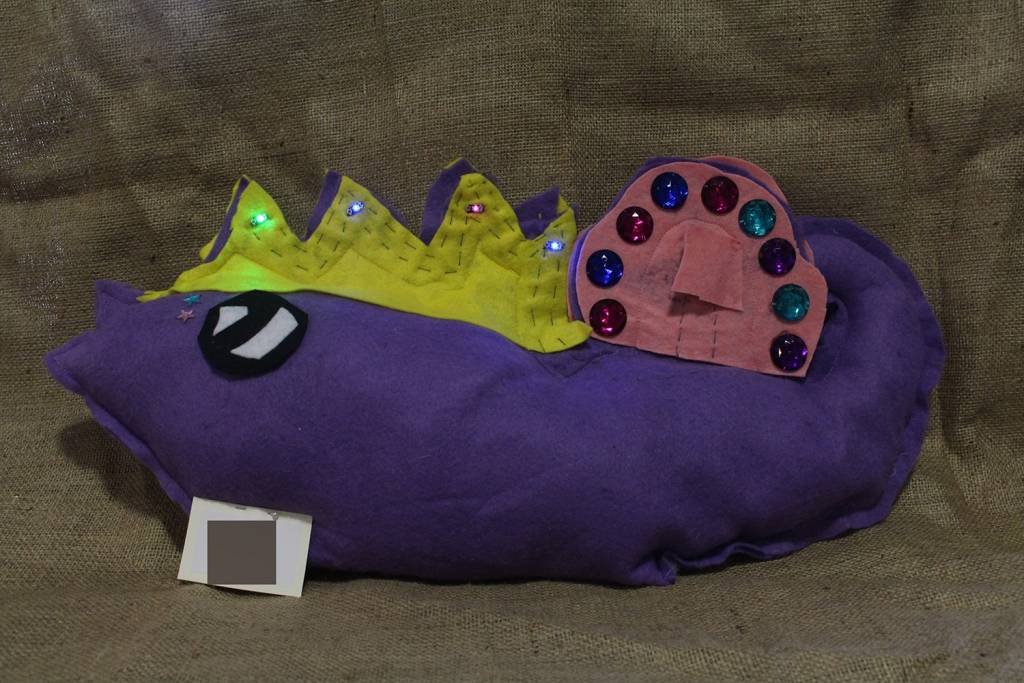
They were also very innovative when determining ways to cover the battery holder with felt flaps and disguising their stitches with 3D paint.

When reflecting on the process of this soft sculpture character, the students identified the LED light circuit as one of the most successful parts of their work. Not only did the process enable them to develop an understanding of circuitry but it also enhanced their sewing skills as well as enabling them to use light as a creative component of their design.
Featured Products:
Felt Sheets 10 Colours 20 x 30cm – Pack of 50
Kids PVA School Glue – 1 Litre
Conductive Thread – 23m
Colour Slix 3D Paint – Pack of 8
I believe I have only just scratched the surface when it comes to electricity as an art medium where I could be inspired further by artist Haroon Mirza. This could include exploring the idea of light sequencing and programming within artworks that could extend the creative possibilities further for students. Giving them greater control over how the light components of their pieces are viewed by their audience and giving them the opportunity to develop their skills with programming as well as circuitry. The possibilities are endless.
About the Author
Olivia is a specialist Visual Art Teacher in an ELC, primary and secondary school setting. She has a broad breadth of experience with inquiry learning and is an IBO qualified educator. Olivia particularly enjoys developing Visual Art units around STEAM which include electronics, technology and science concepts.


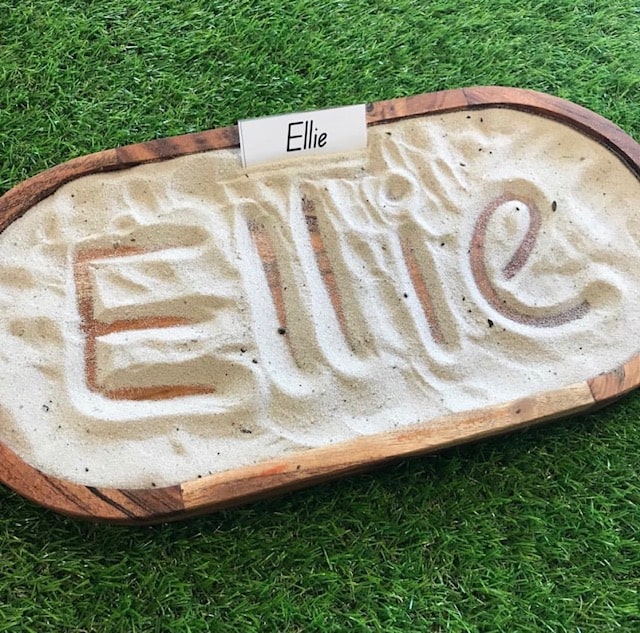
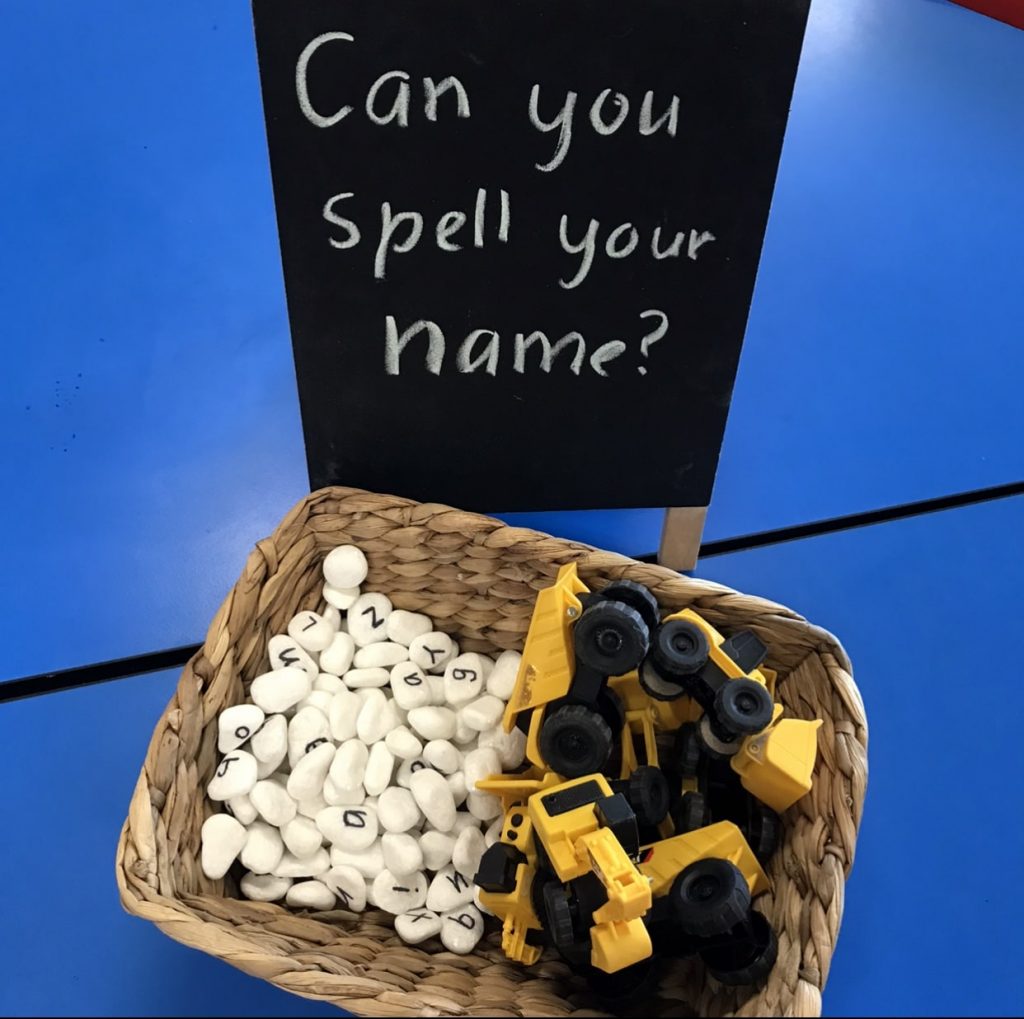
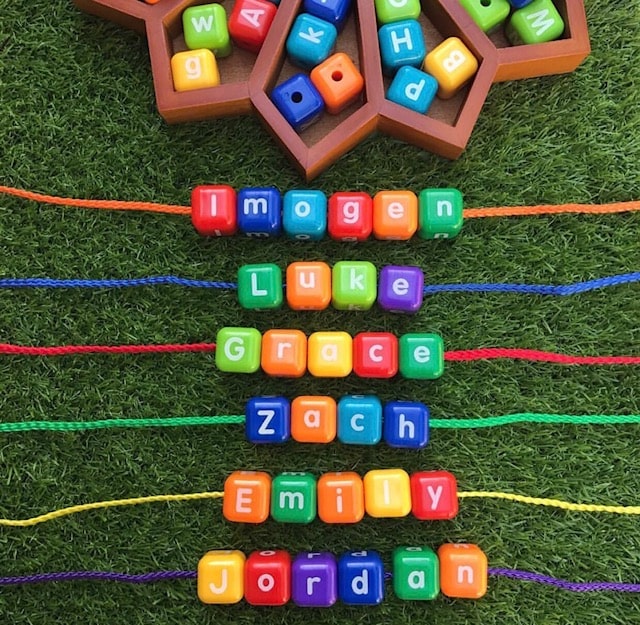
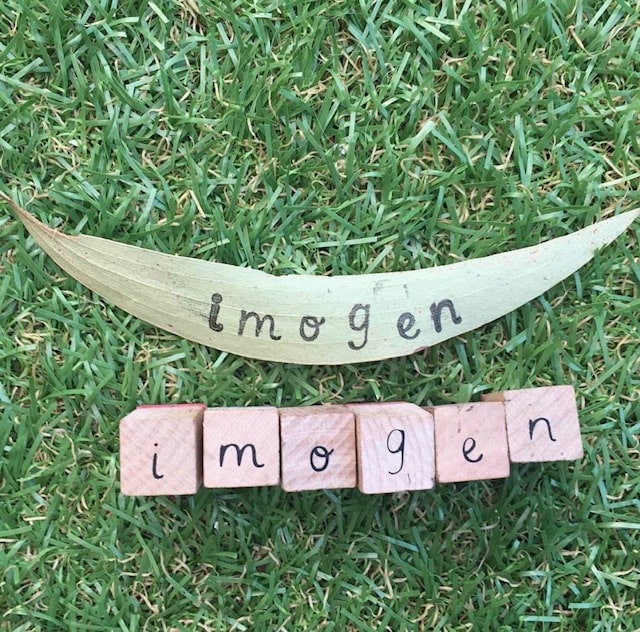
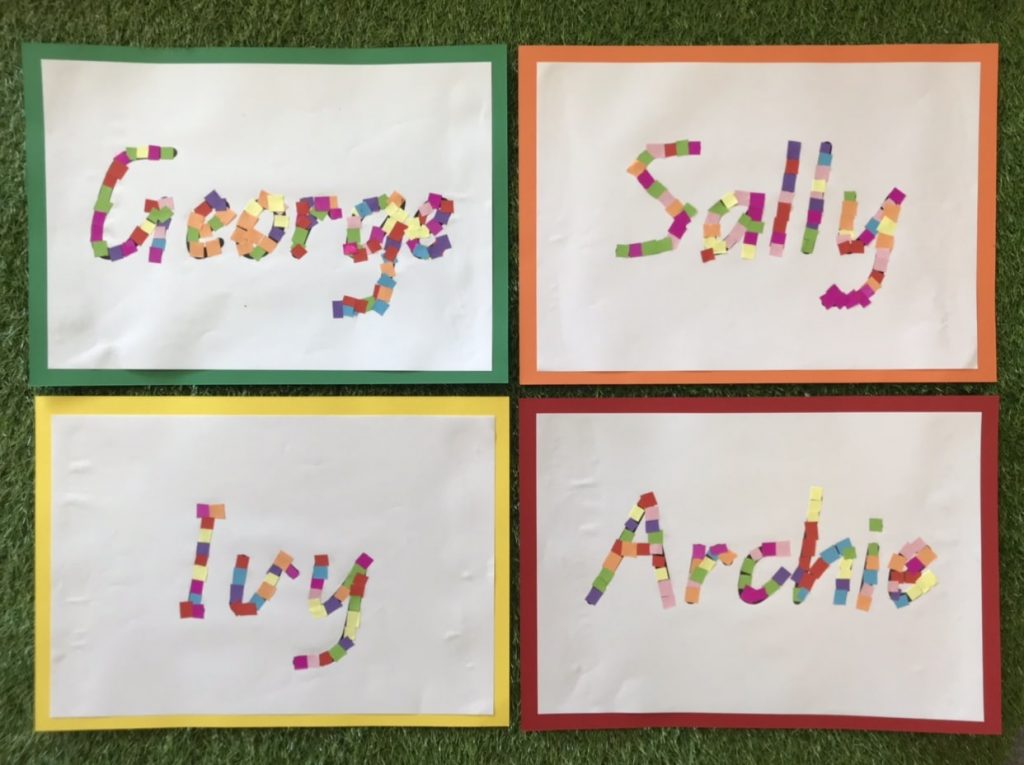
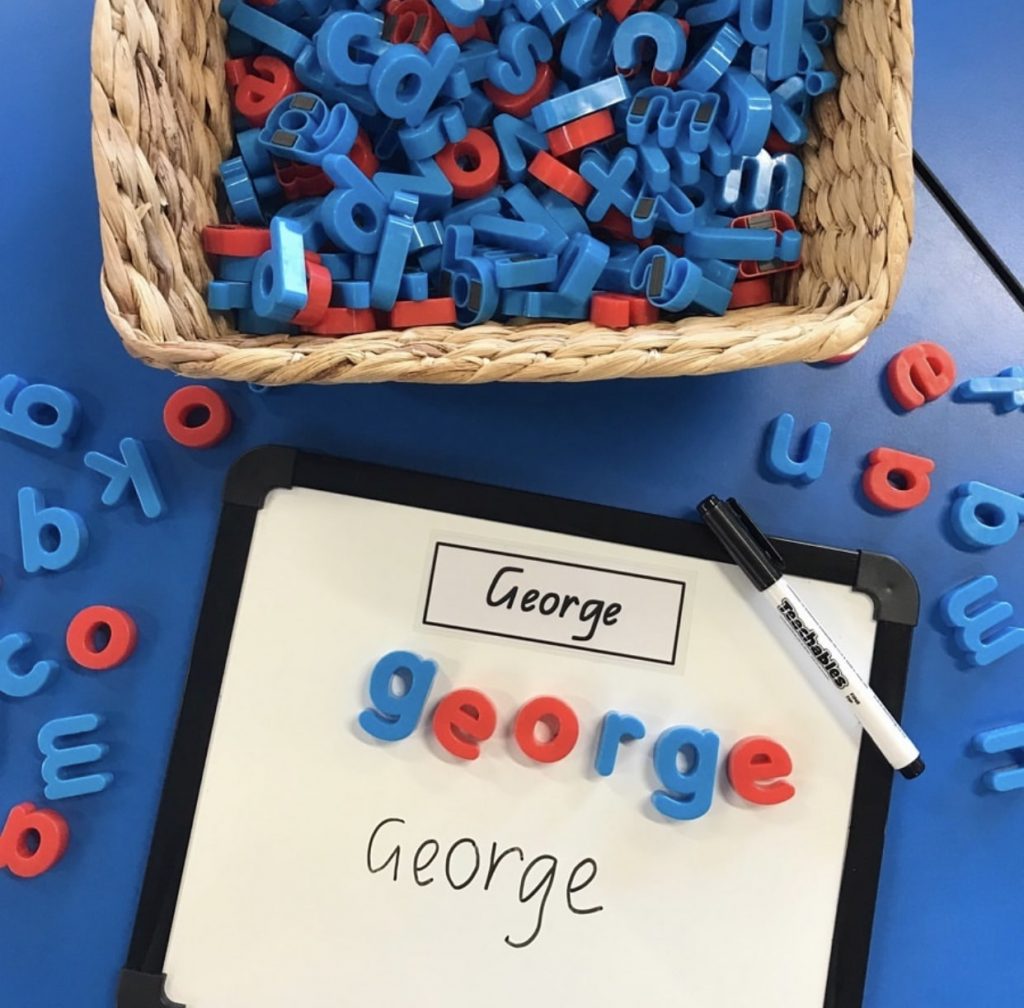
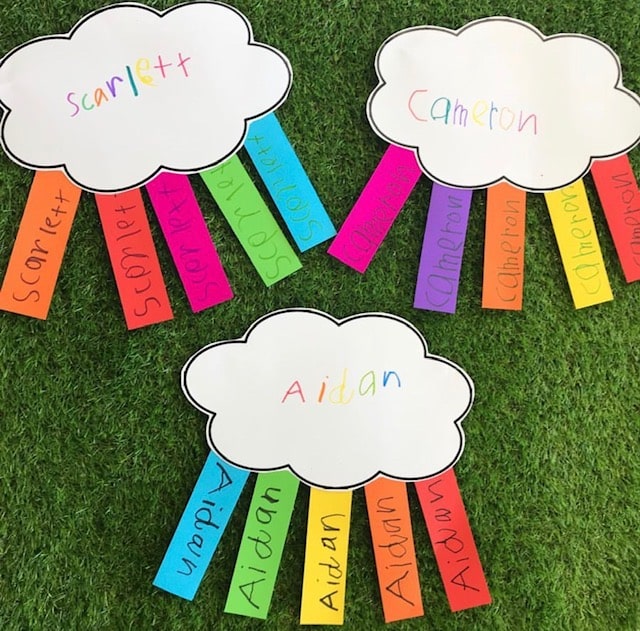
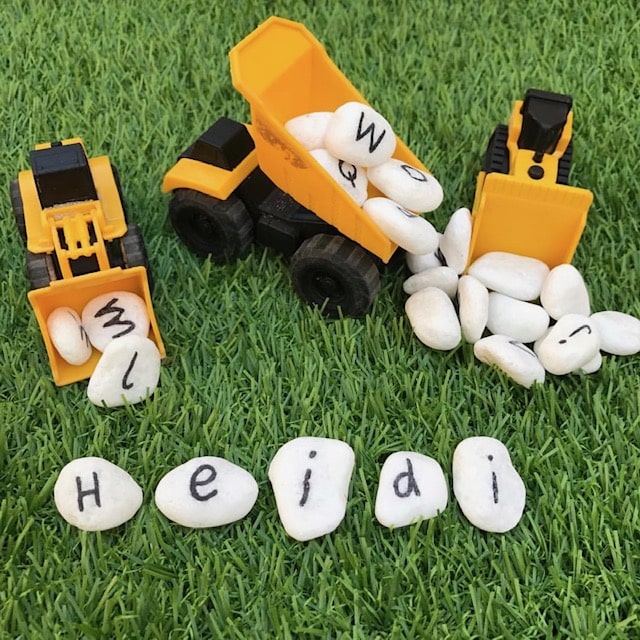 It’s a super fun and engaging activity that encourages students to recognise and find the letters in their name and then assemble the alphabet rocks in the correct order.