With much of the world under lockdown, schools closed, and parents and students working and learning from home, educators everywhere are finding alternative ways of teaching their classes remotely.
Many schools are set up for some kind of remote learning, but there are an equal number for whom this is a whole new world, especially for elementary educators. It’s also true that while teachers probably have lesson plans ready for the upcoming semesters, it’s a whole different ball game to suddenly put all these lessons online without disrupting any learning.
The most important thing for educators to remember about remote teaching is…
…go easy on yourself. Our first tip – not included in our official list because we want to call it out – is to practise self-kindness. We’re all in a new situation and it will take time to get used to. Some things you try will work, and some won’t. That’s ok. We’re all learning together.
Rest assured, if you can use a phone and the internet, you are more than able to teach remotely! You have the subject knowledge, teaching experience, and you know your students. The most important thing to do is try and bring the feeling of a classroom setting into their homes.
18 Tips for Educators
1. Use your existing lesson plans
Take those plans and put them online. You’ll have to tweak them a little for the digital world, but you have the majority of the content you need already. As you get used to doing this, you’ll develop your own methods. You might find that constructing all your lessons in a similar way every time makes the whole process more efficient – and gets your students into a routine they recognize.
2. Find software that works for you
There’s plenty of educational software out there. If your school isn’t using one particular system, try Google Classroom, Microsoft Teams or Moodle. Any of these platforms will help you work collaboratively and engage students in an online learning environment.
3. Be available online during the time you’d normally teach
It’s important to still be there to answer student questions when they’d normally be able to ask them. Software helps here, too. Conferencing platforms like Skype, Google Hangouts, and Zoom can all help you stay connected. You may also want to schedule some time outside of normal teaching hours to provide any extra support students may need.
4. Connect your students with each other
Your students (and most likely you, too) will miss the social, collaborative, and peer-to-peer aspects of the classroom, and the ability to ask questions if they don’t understand something. Try and facilitate this as much as possible while teaching remotely.
5. Record (and pre-record) some lessons
Pre-recording your lessons can make remote learning more efficient. You can do this at a time that suits you, and make it available to your students when they need it. It also helps to record your live sessions as it means students can go back and listen to them again if they need to.
6. Set your lessons up to run as smoothly as possible
Decide what you are going to say in live sessions in advance. You don’t need a script, but you do need direction. At the beginning of each lesson, ask your students to turn off their microphones and cameras so you limit distractions as much as possible. Try and limit the length of time you’re talking to your students so they stay as engaged as they would in a normal classroom where everything is much more interactive.
7. Set ground rules
We’ve mentioned turning off mikes and cameras, but students also need to understand that when they log into their remote lesson, they are effectively at school and normal school rules remain in place.
8. Stay in touch with parents
It’s going to be much more difficult to know how your students are really doing. Keeping communications open with parents is vital. You could do this via email or text, and most schools will be updating their website and social media accounts regularly, too. Don’t forget that parents will need support as well. It’s daunting to suddenly have to homeschool your child so you could let them know you appreciate them helping out with remote teaching their child.
9. Take it step by step
Getting used to a remote learning set-up takes time, so don’t try to do everything all at once or try anything overly complicated too soon, especially if you’re new to remote teaching. Allow both yourself and your students time to settle in. A 15-minute recorded lesson that students can pause and rewatch with time for them to process and apply the lesson is a good start.
10. Keep in touch with students individually
Send an email or a note through your classroom management system to ask how your students are getting on, that you’re missing seeing them, and are looking forward to seeing them back at school.
11. Provide feedback
Keeping in touch with your students also means providing them with qualitative feedback. It’s something that can be easy to forget if you’re teaching remotely but it gives students a feeling that they are working with purpose, and they generally want to know how you think they’re getting on.
12. Stay in contact with your fellow teachers and school staff
It’s not just your students that it’s important to keep in touch with. Your colleagues are experiencing the exact same things as you. You can help each other by sharing these experiences, giving each other tips, and learning from what others are doing. Plus, it’s great to have that support network.
13. Create a routine
This is definitely more difficult when you’re teaching remotely than when you are in school. But it’s important for you, your students, and their parents to stick to a routine to have consistency and to set expectations.
14. Motivate your students
Being able to motivate your students is also more difficult when they’re learning from home with all the distractions and temptations that brings. Set goals for your students, both individually and as a class. Involve students in the process of setting these goals so they buy into them, and make sure both they and their parents understand the goals and why you’re working towards them.
15. Recognize successes
Share individual student successes with the class in a video. Create online certificates of achievement. Celebrate wins!
16. Recognize the emotional impact that COVID-19 is having
This is a difficult time for everyone, and it’s important that you talk to and reflect with your students about what’s happening. There are plenty of resources available to support you as you do this.
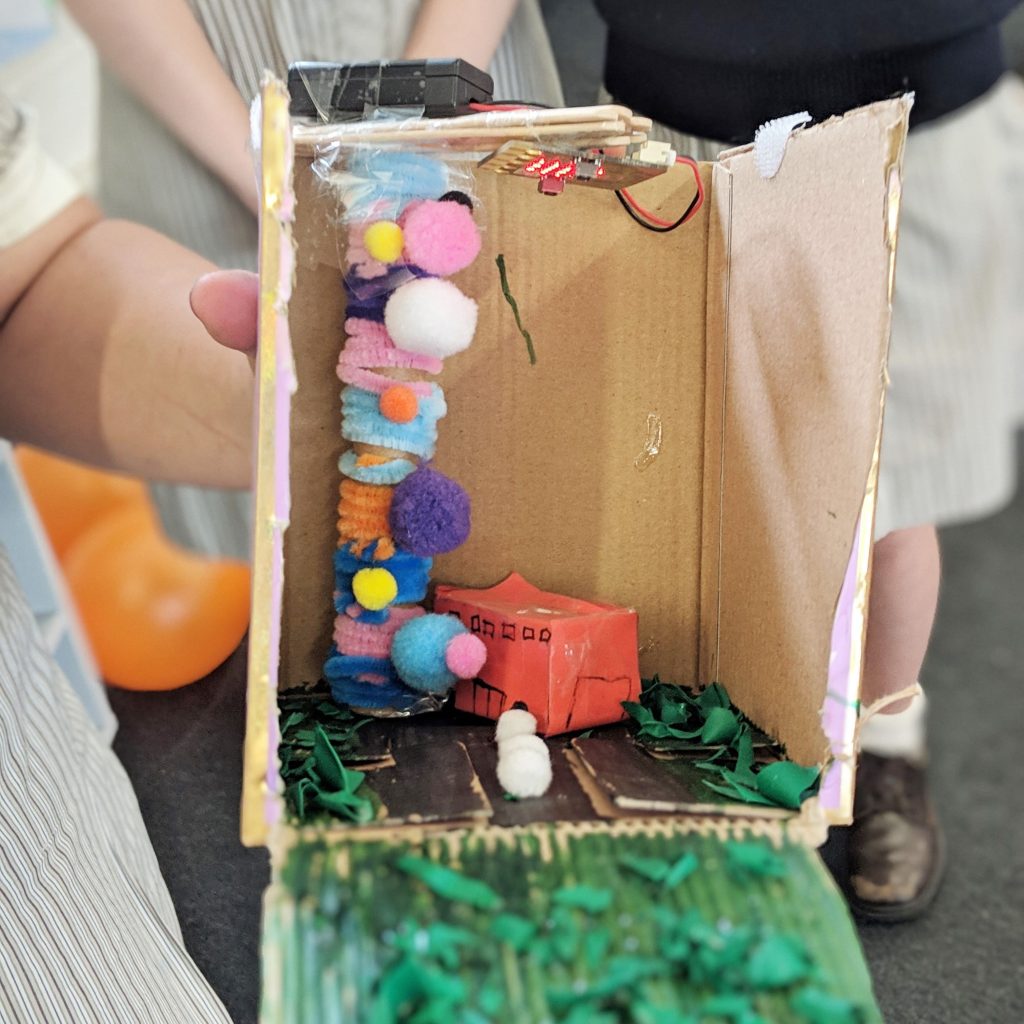
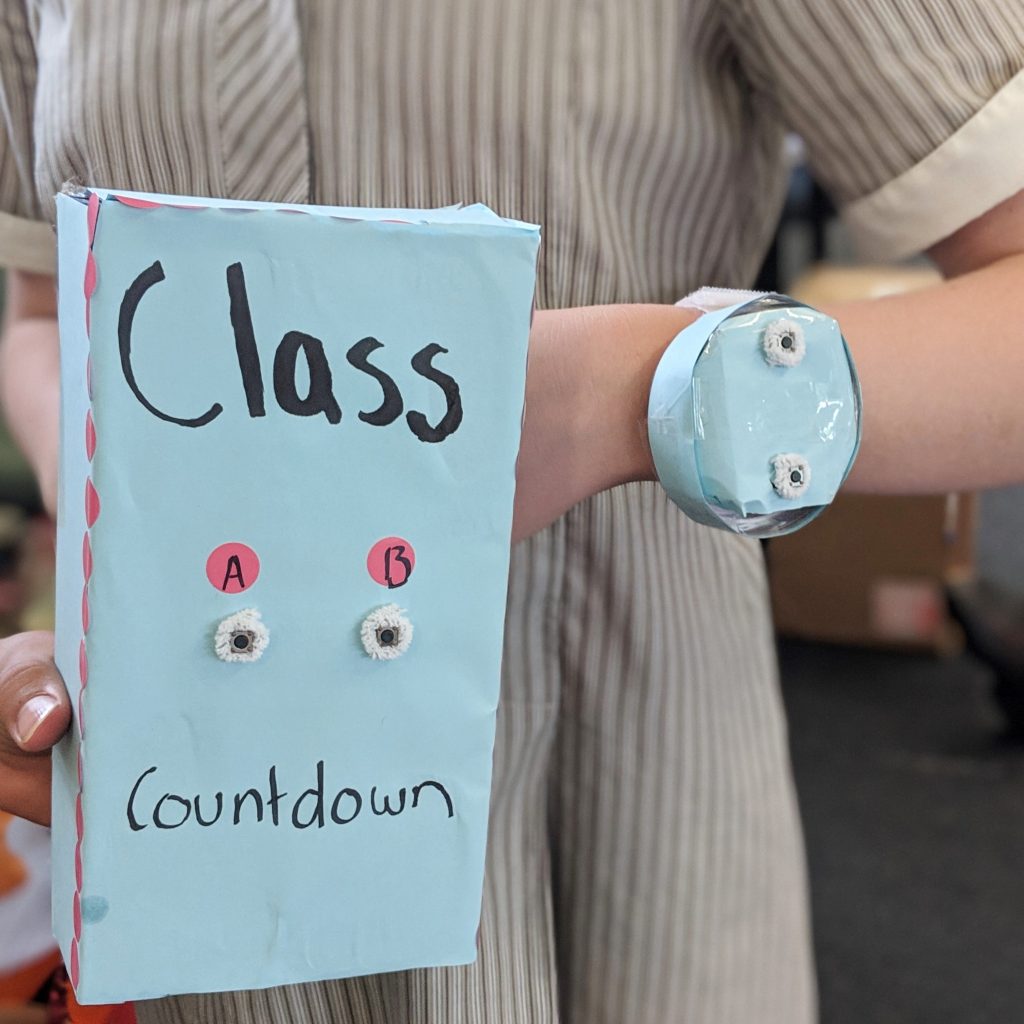
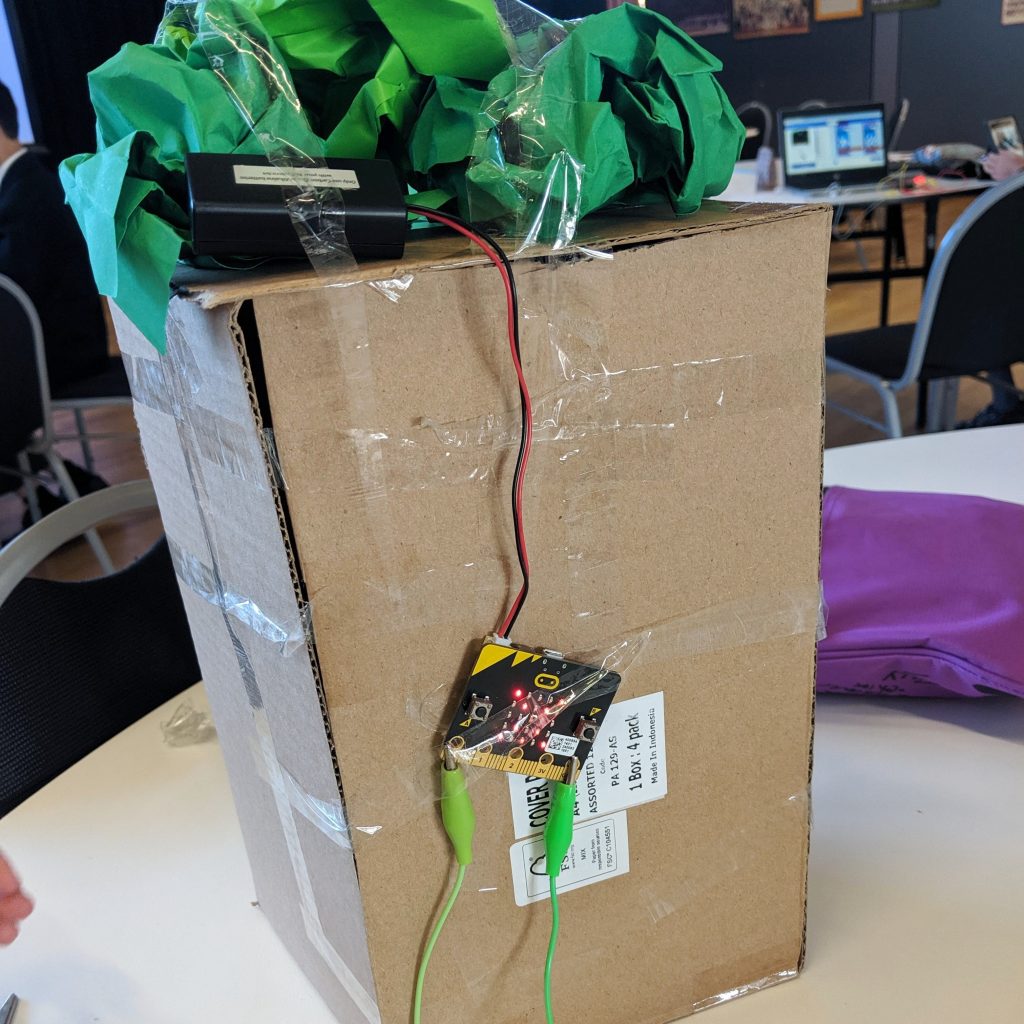
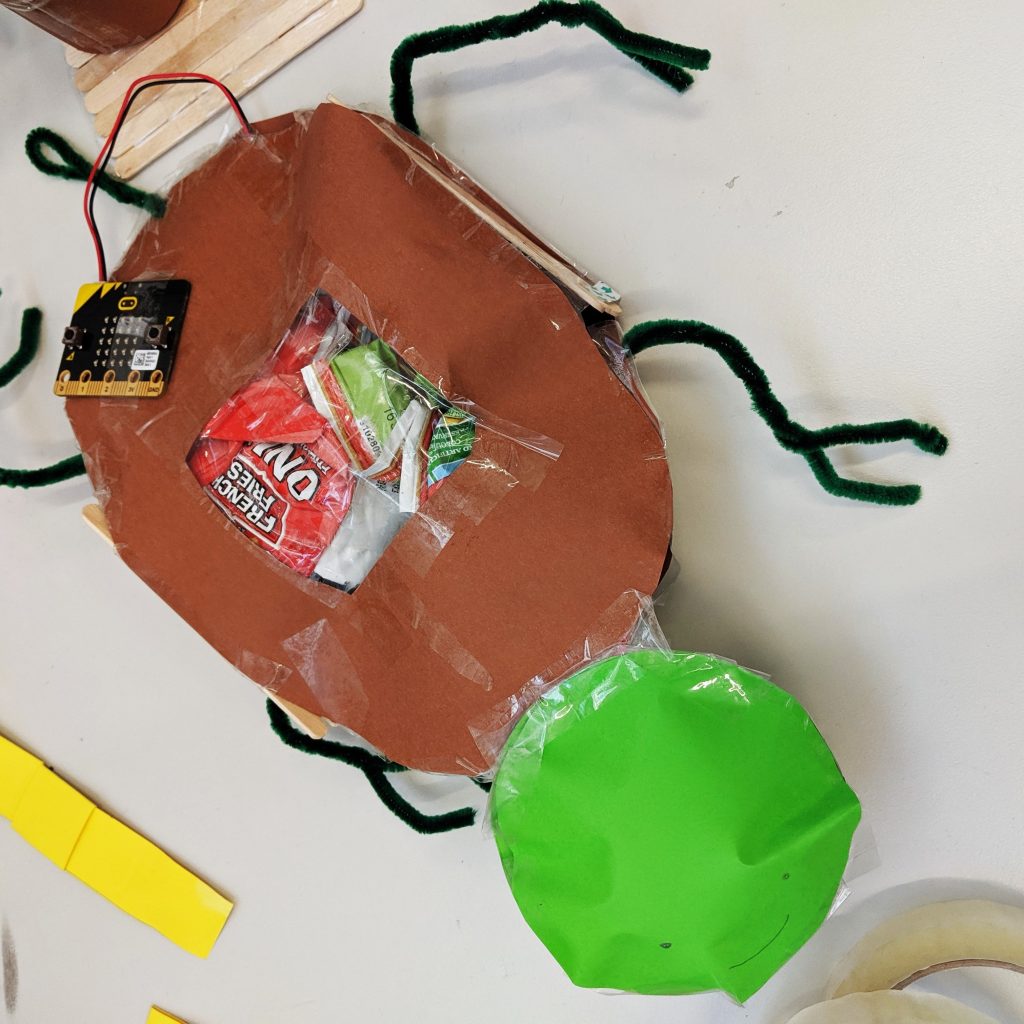
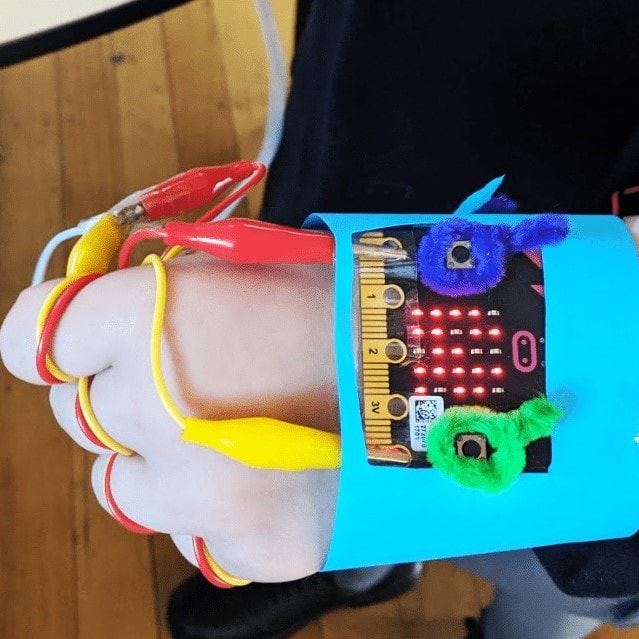
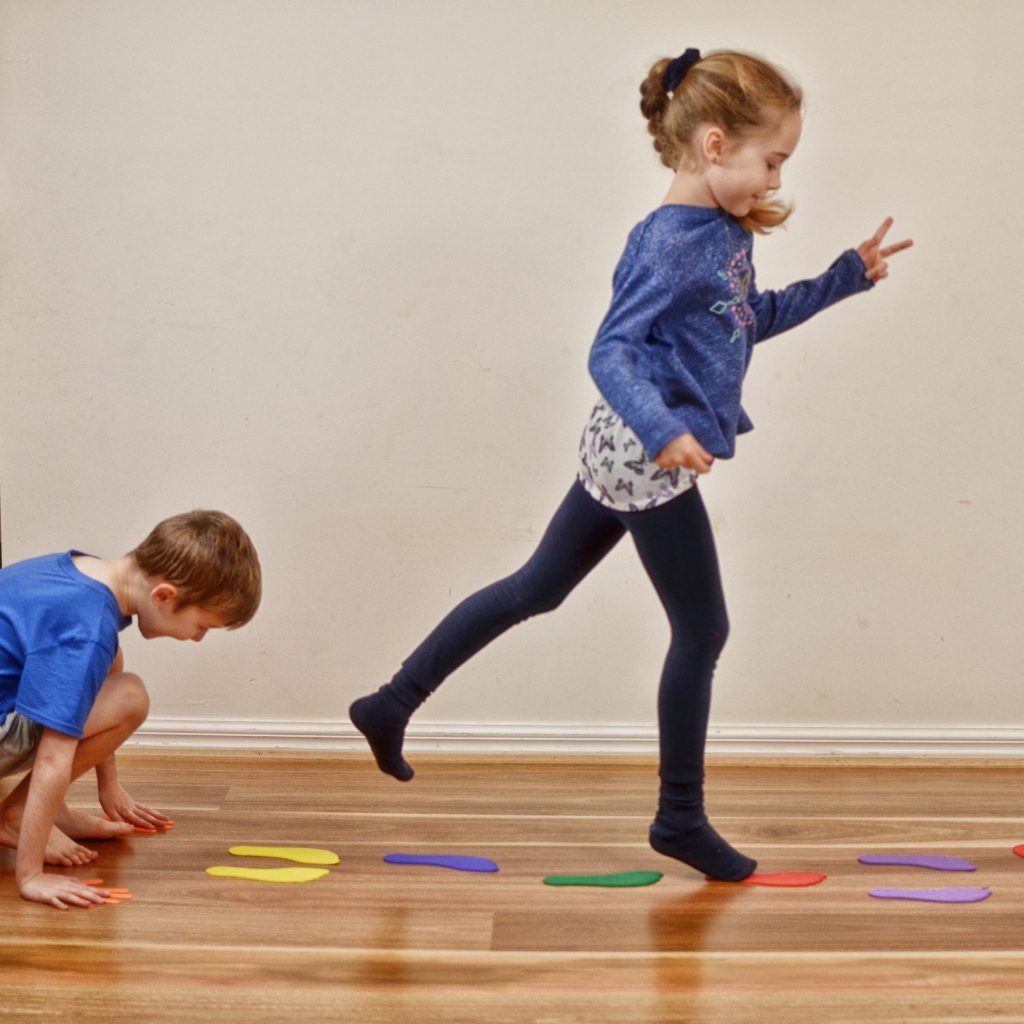
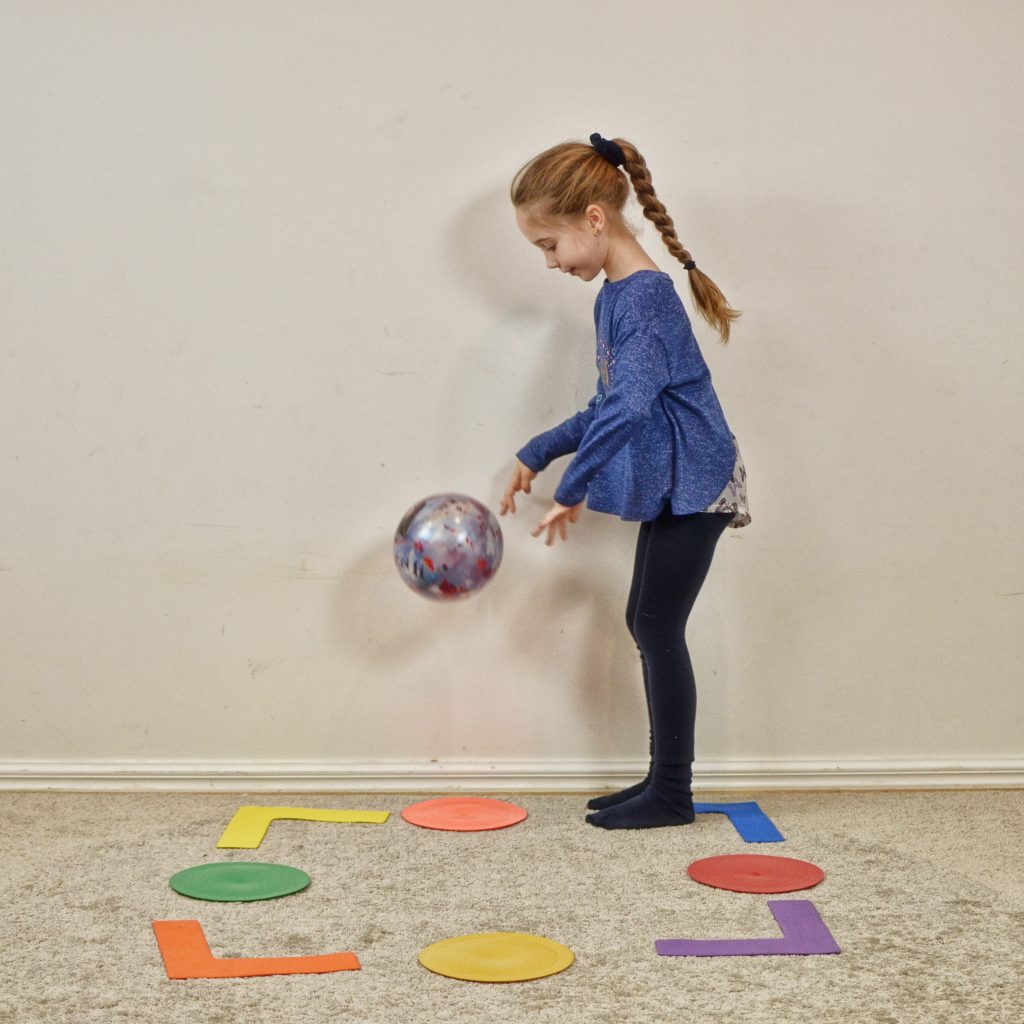
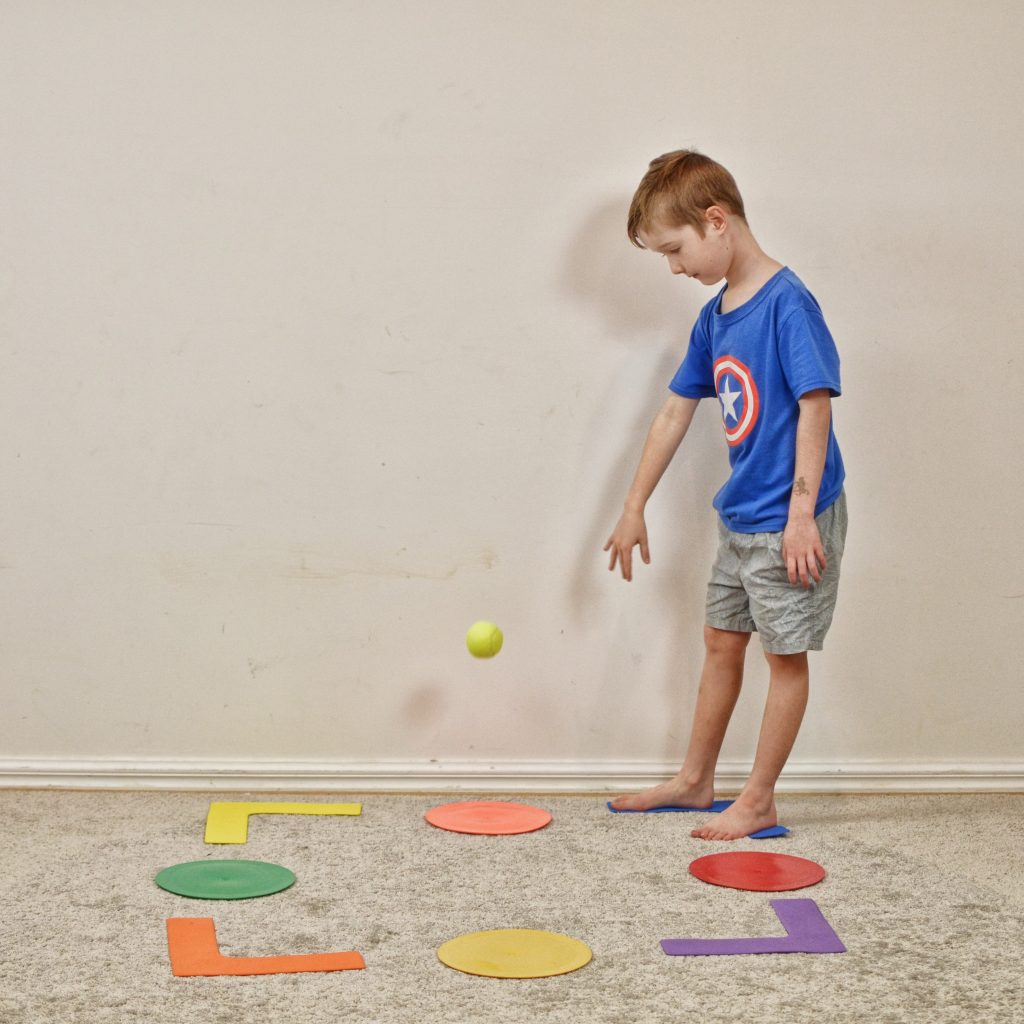
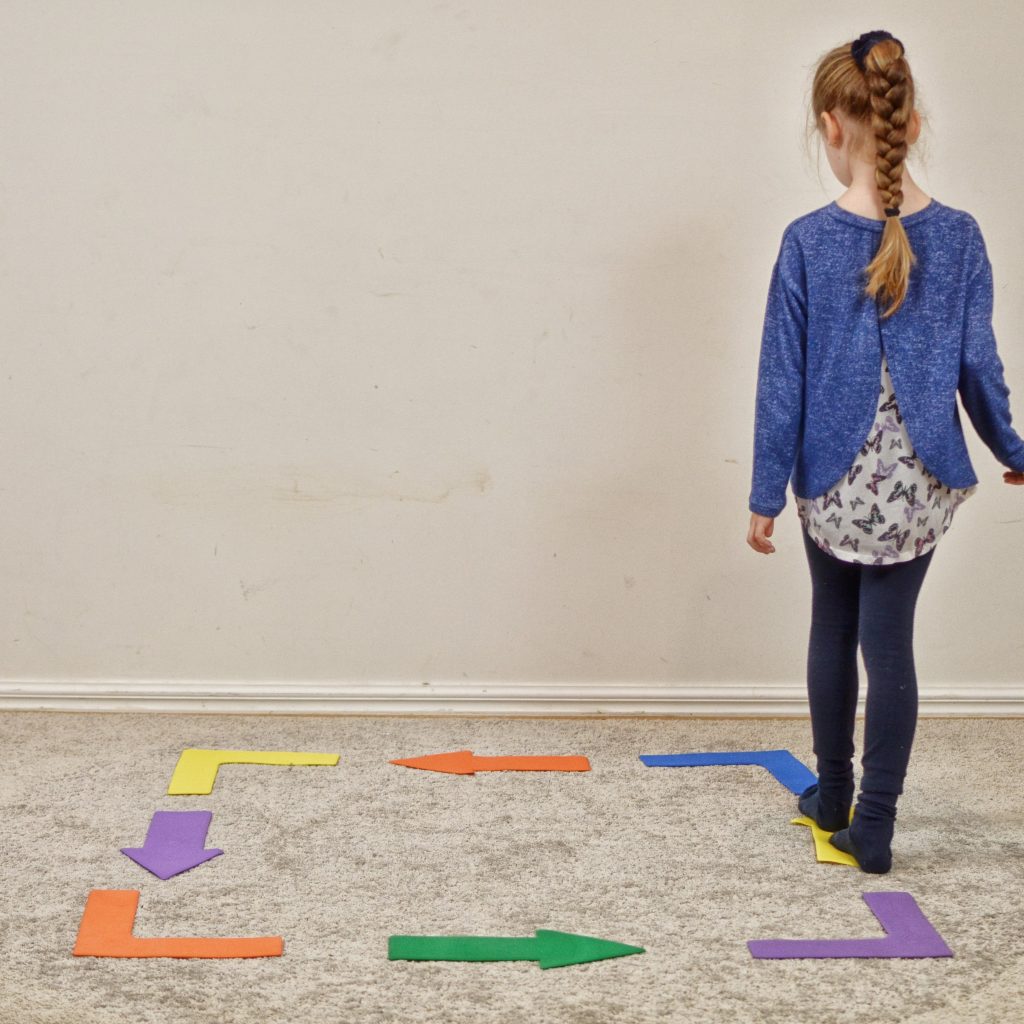
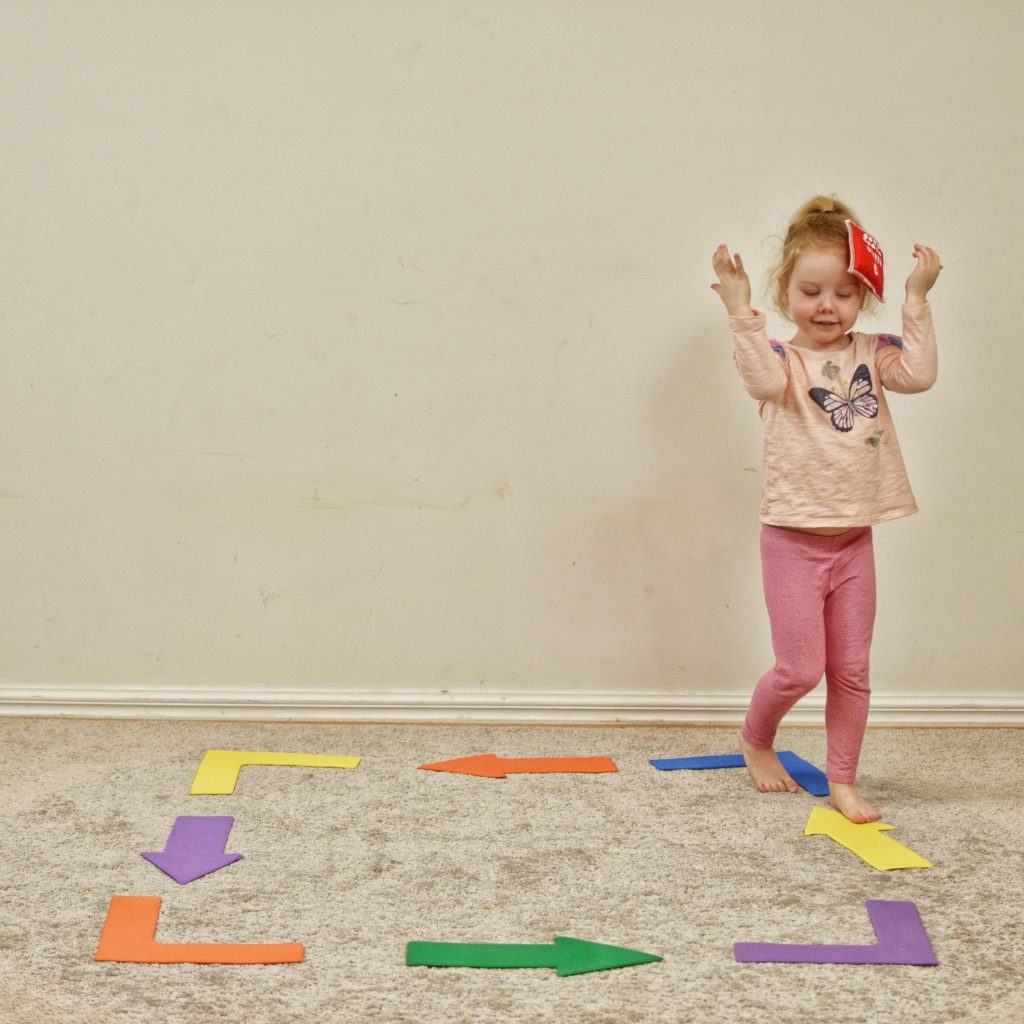
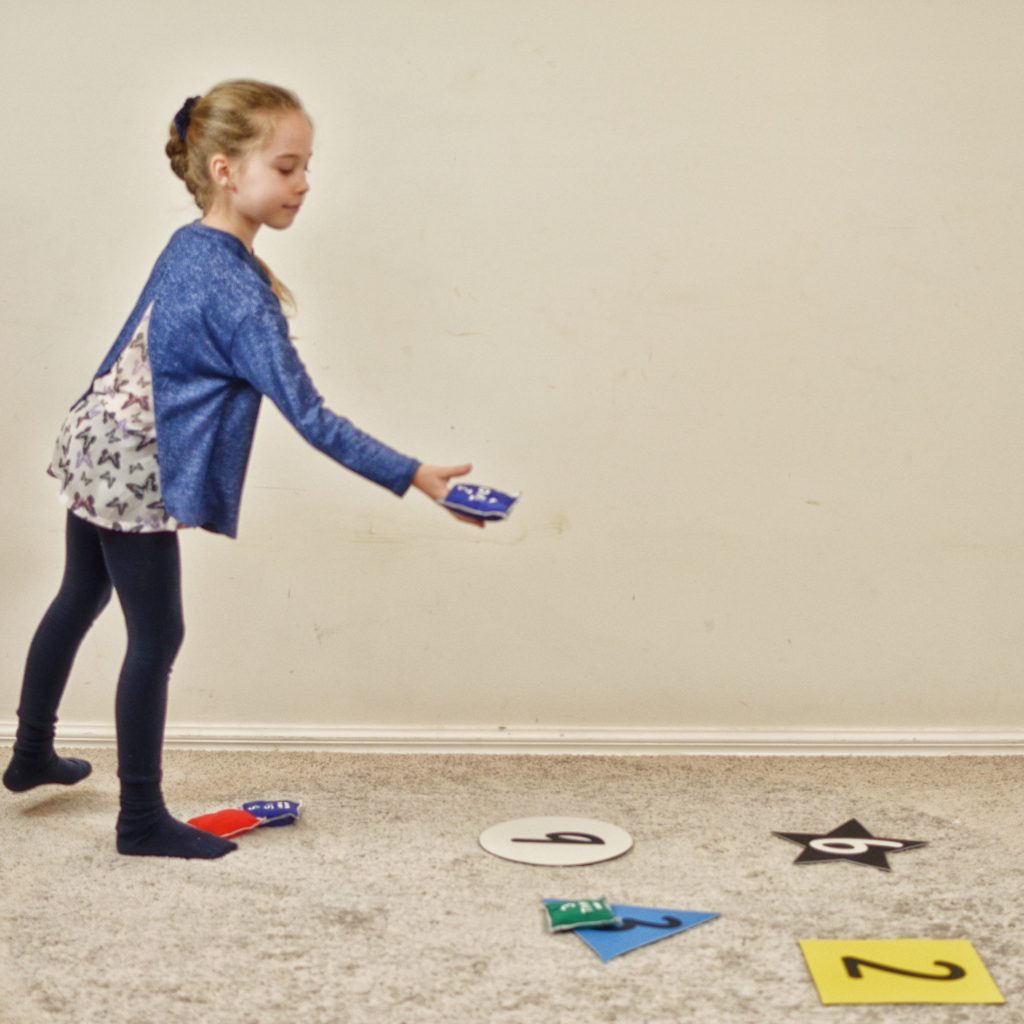
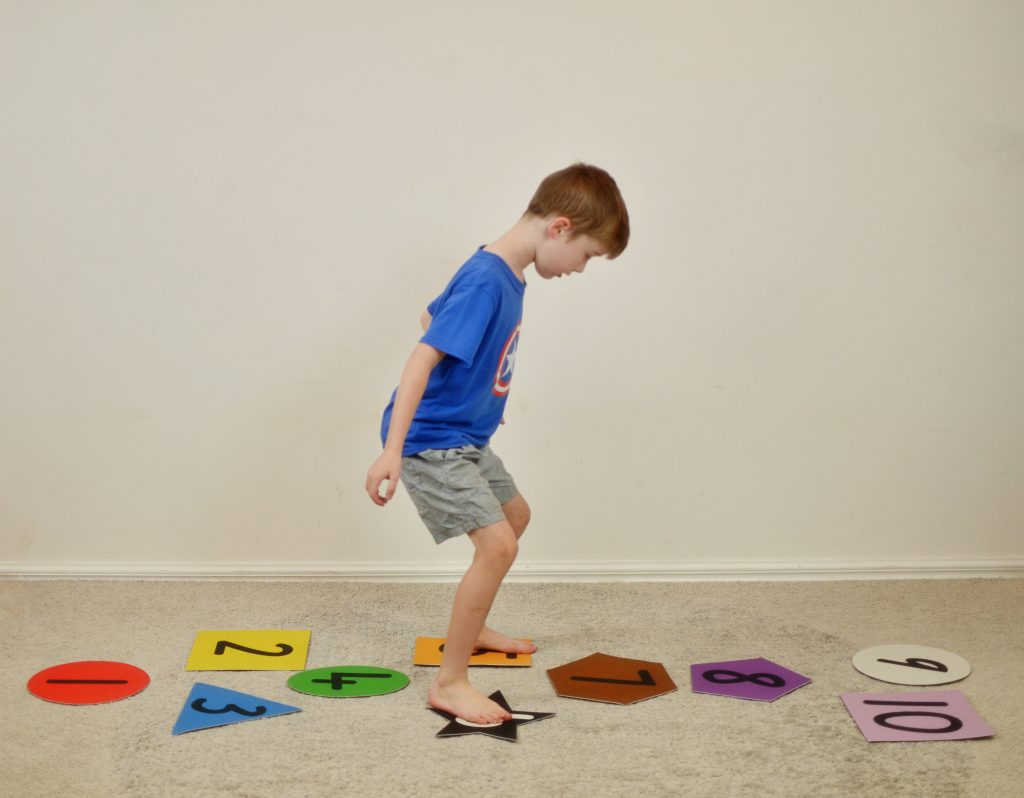
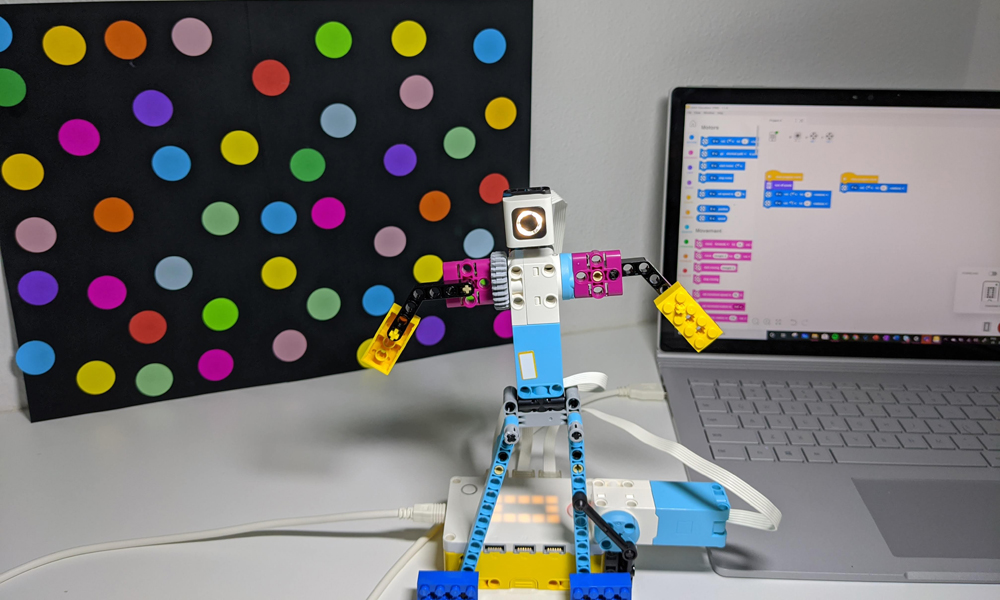
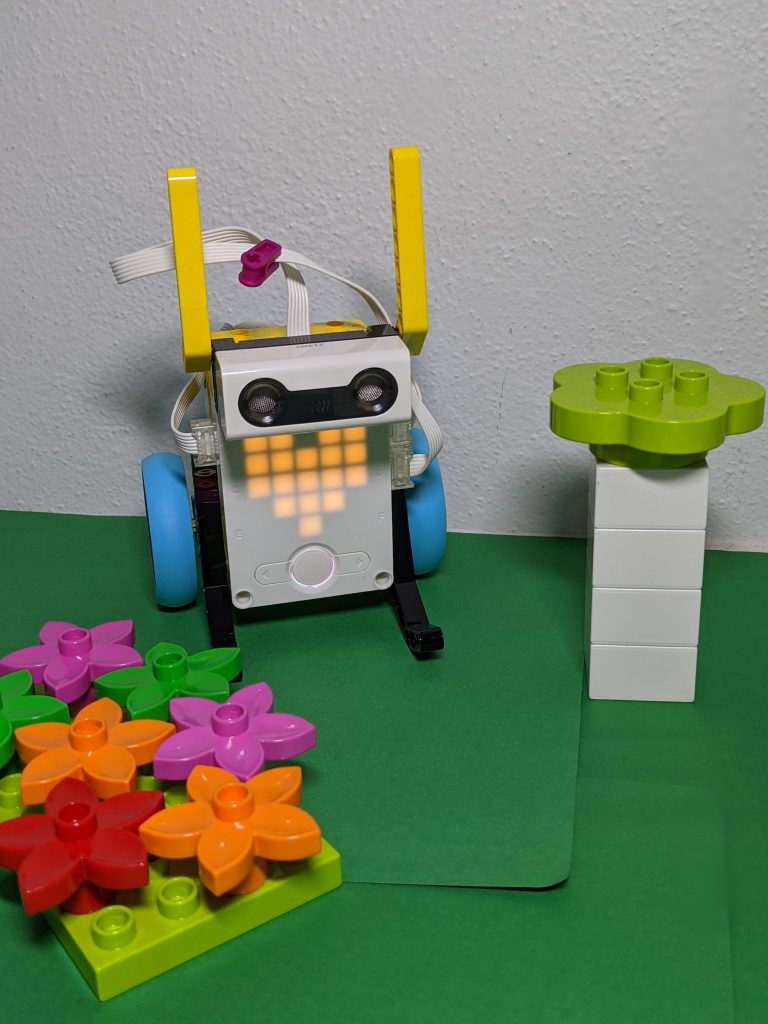
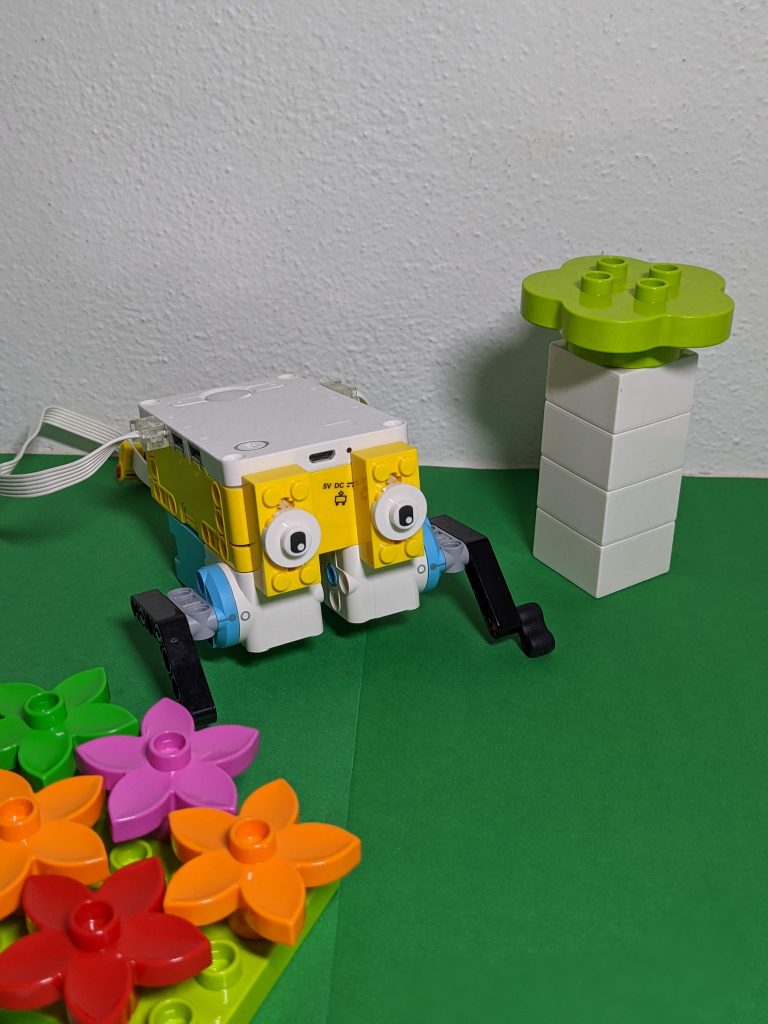
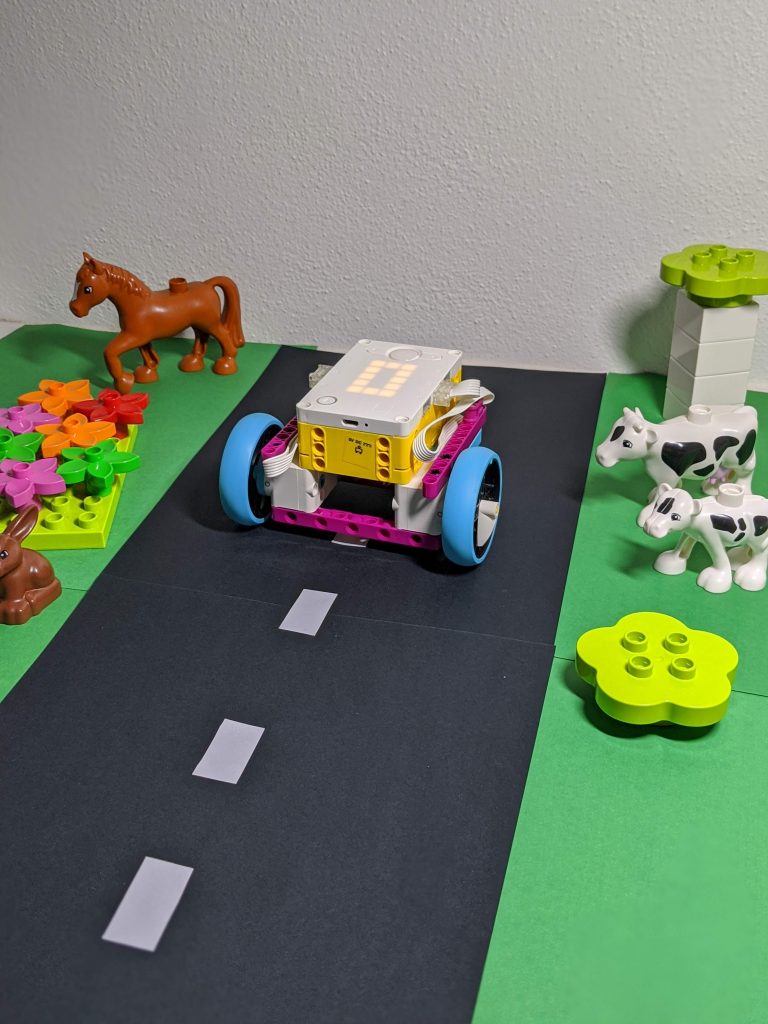
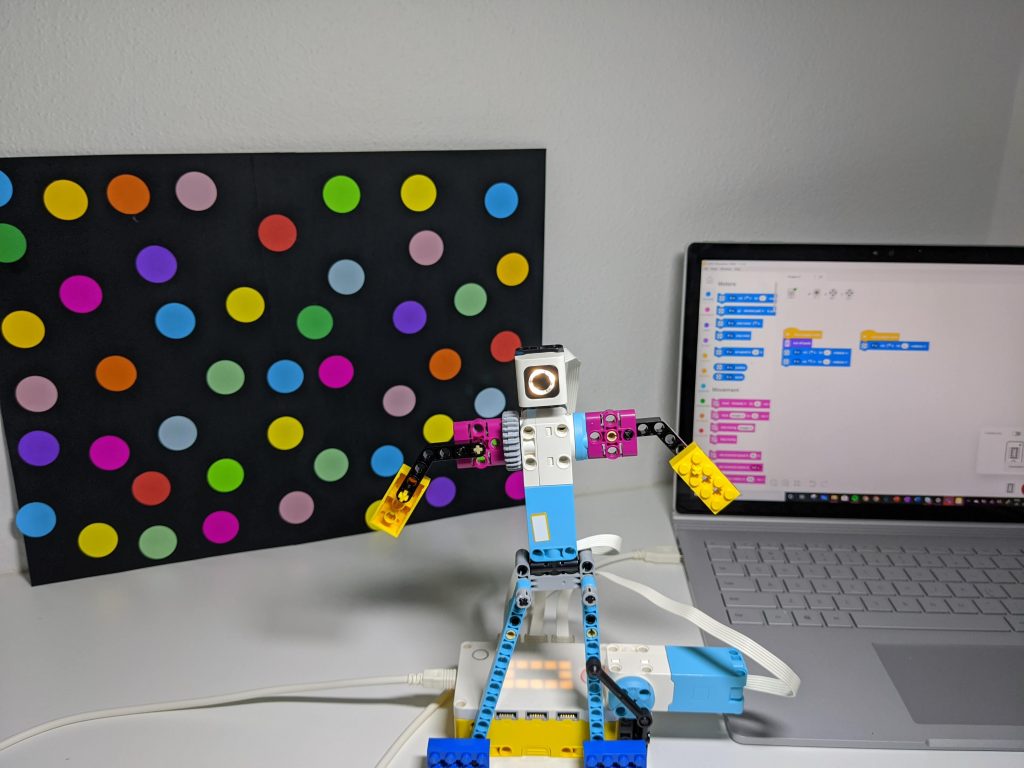
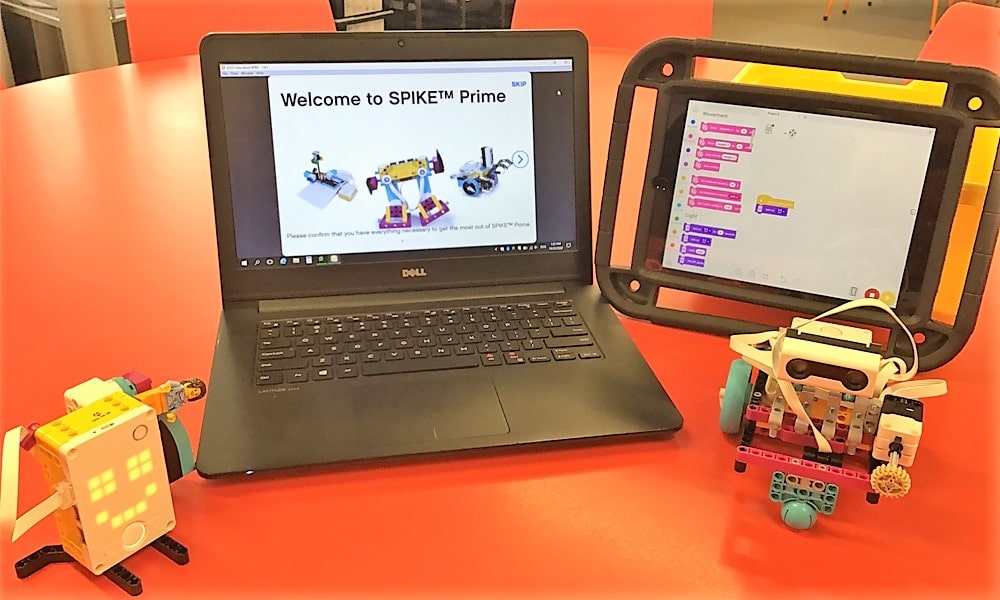
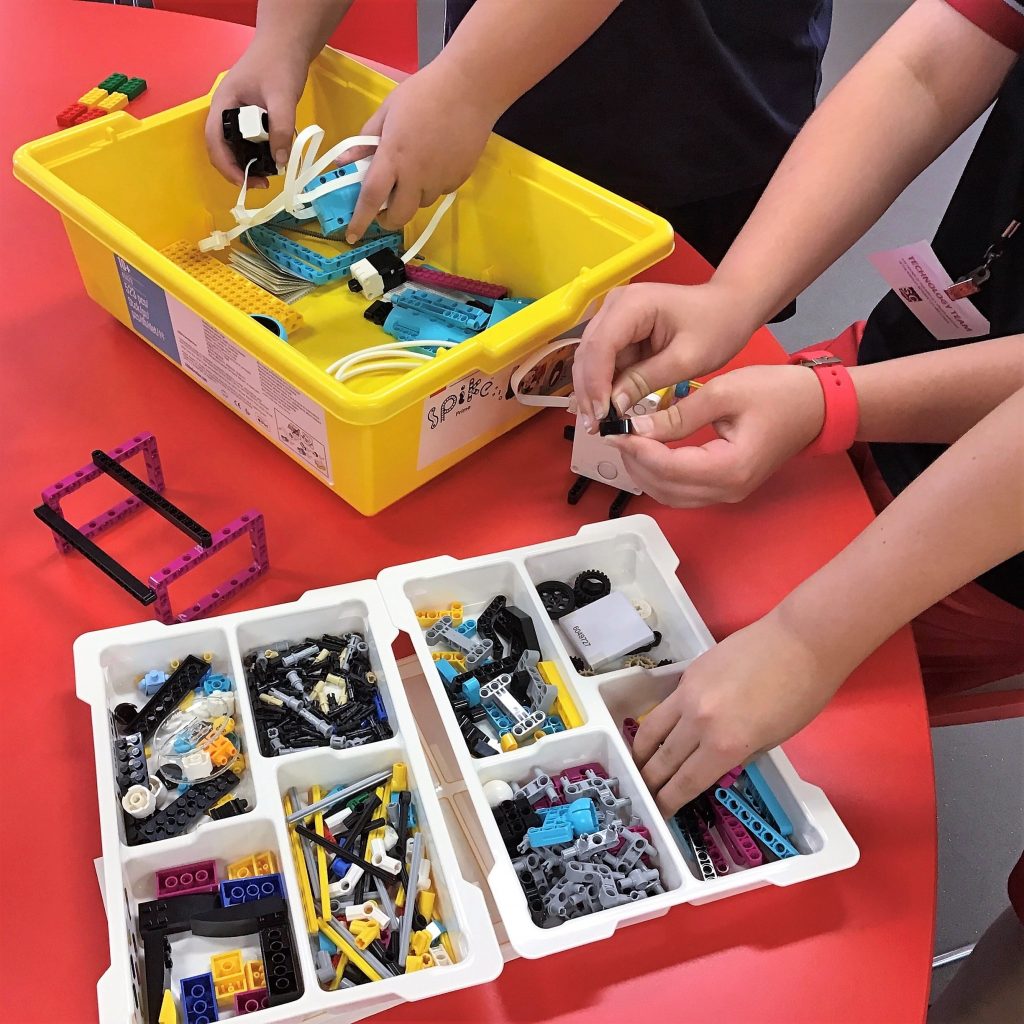
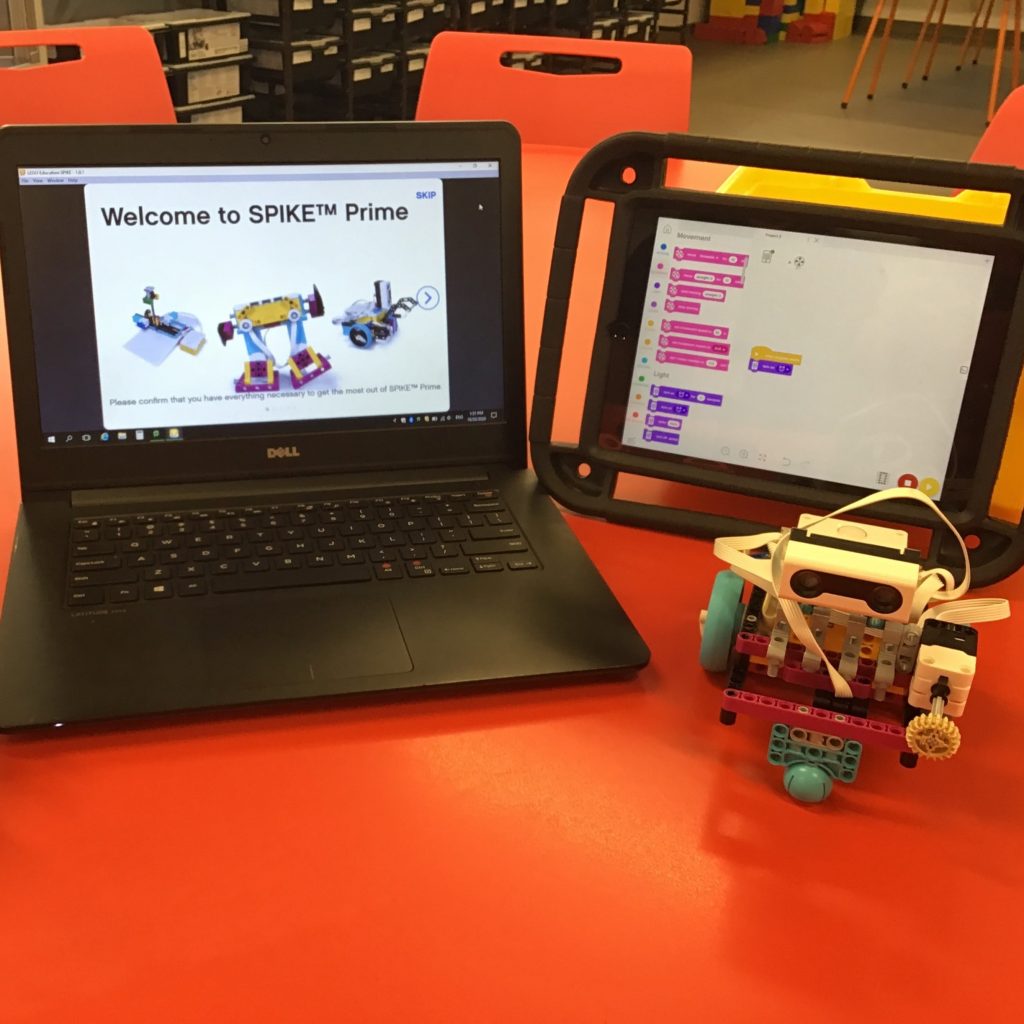
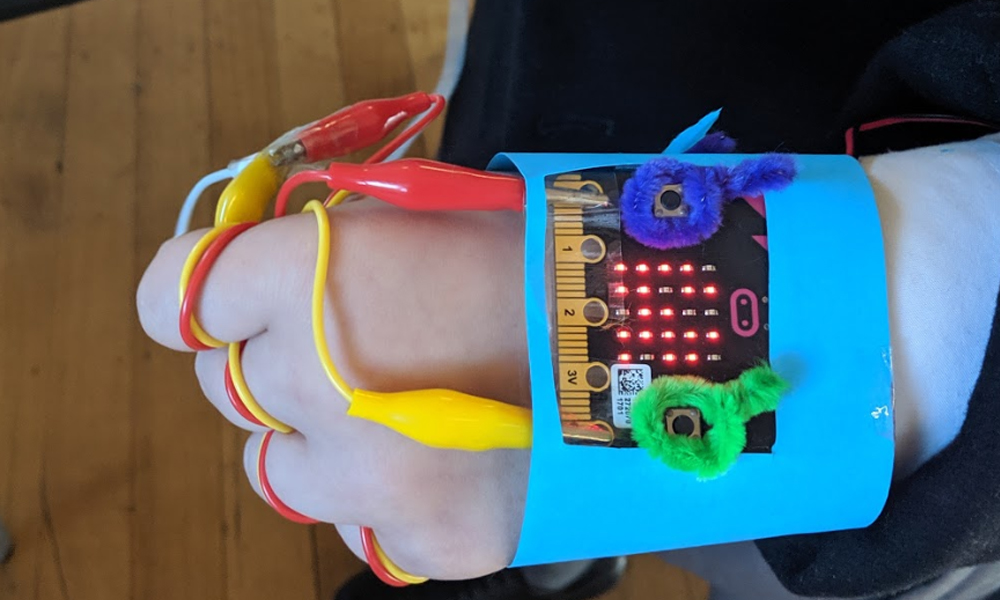
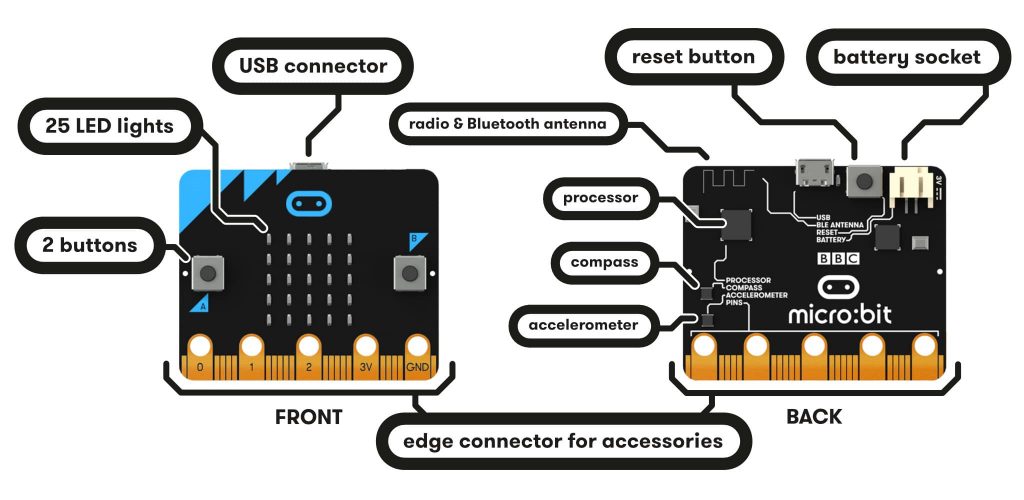
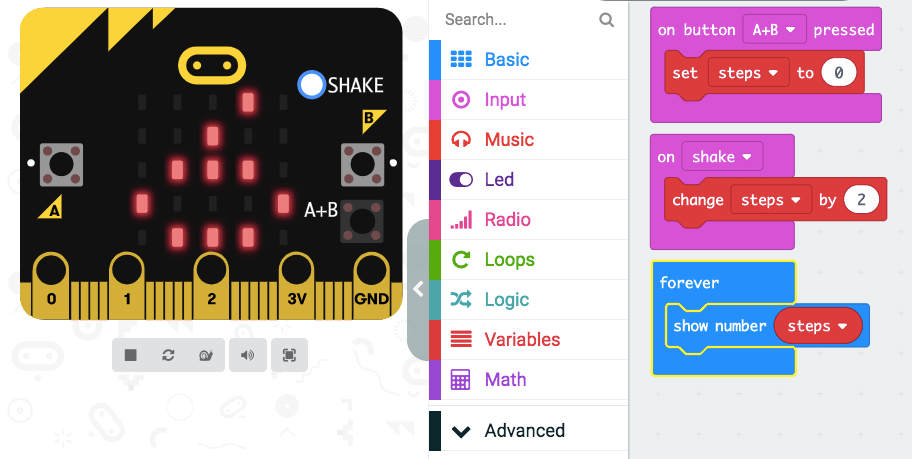
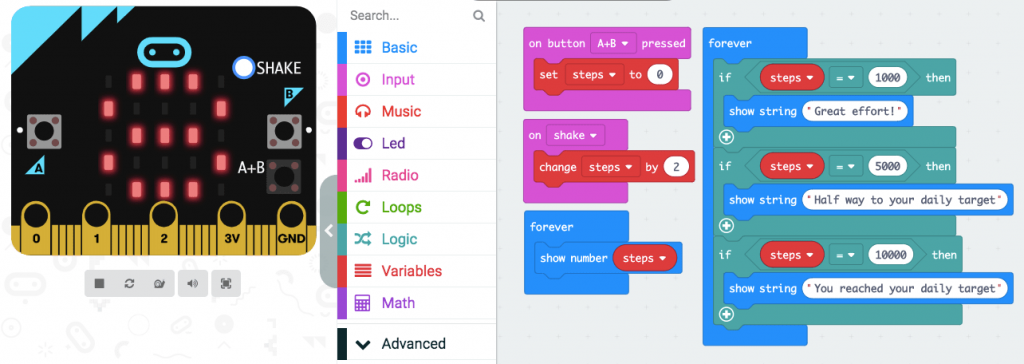
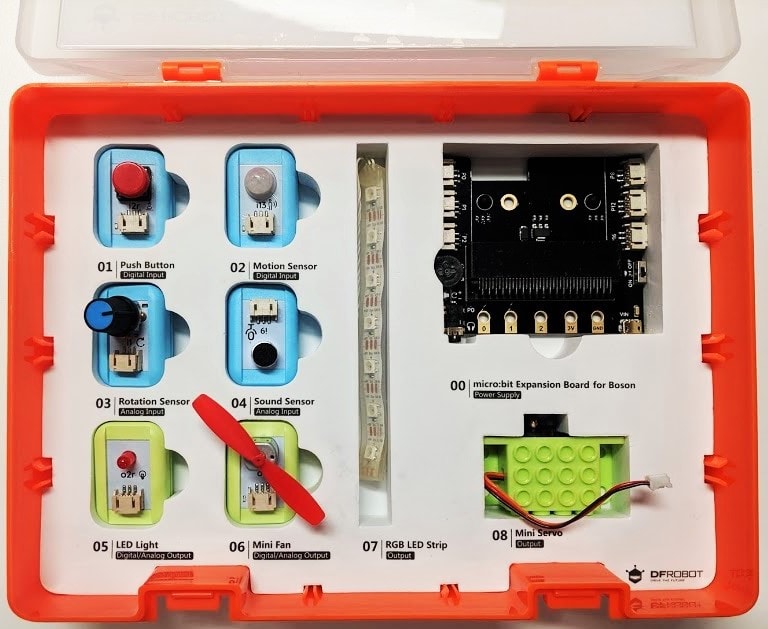
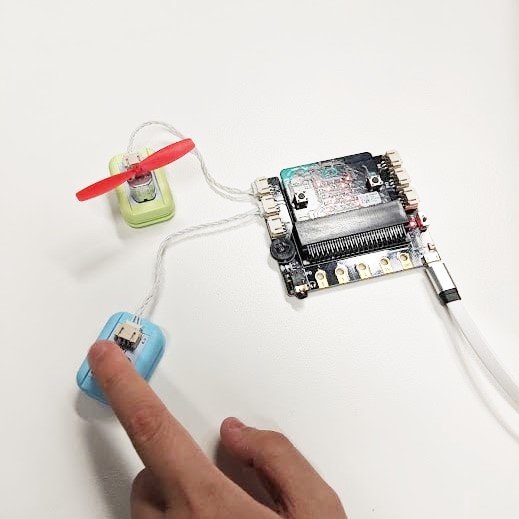
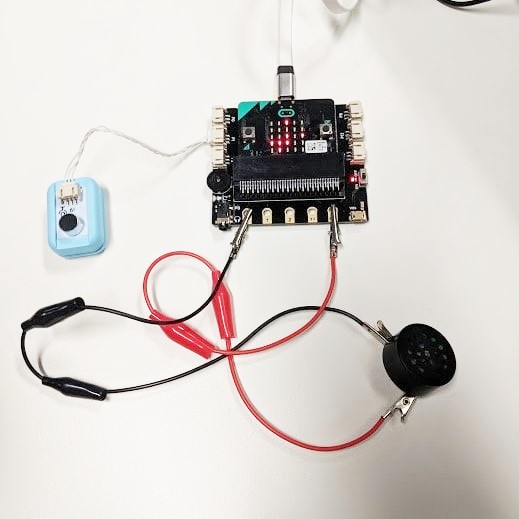
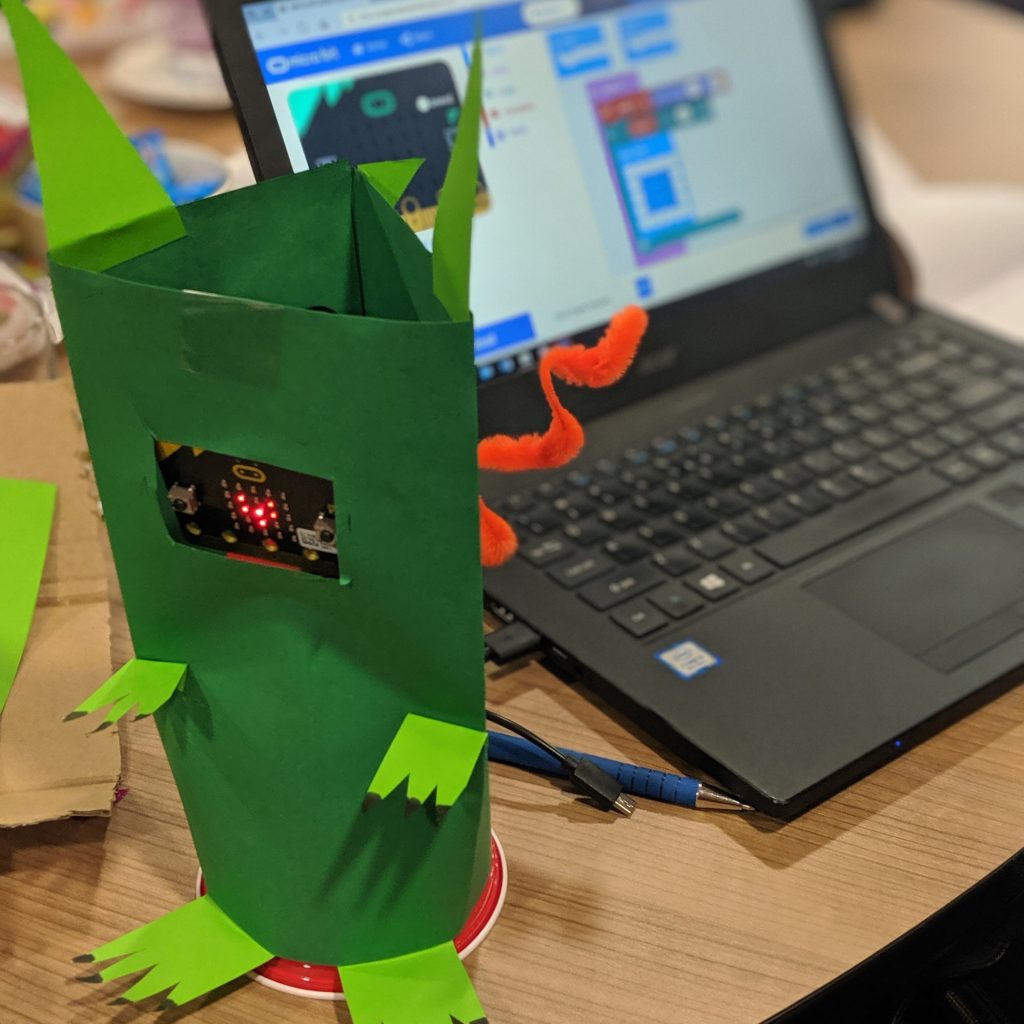
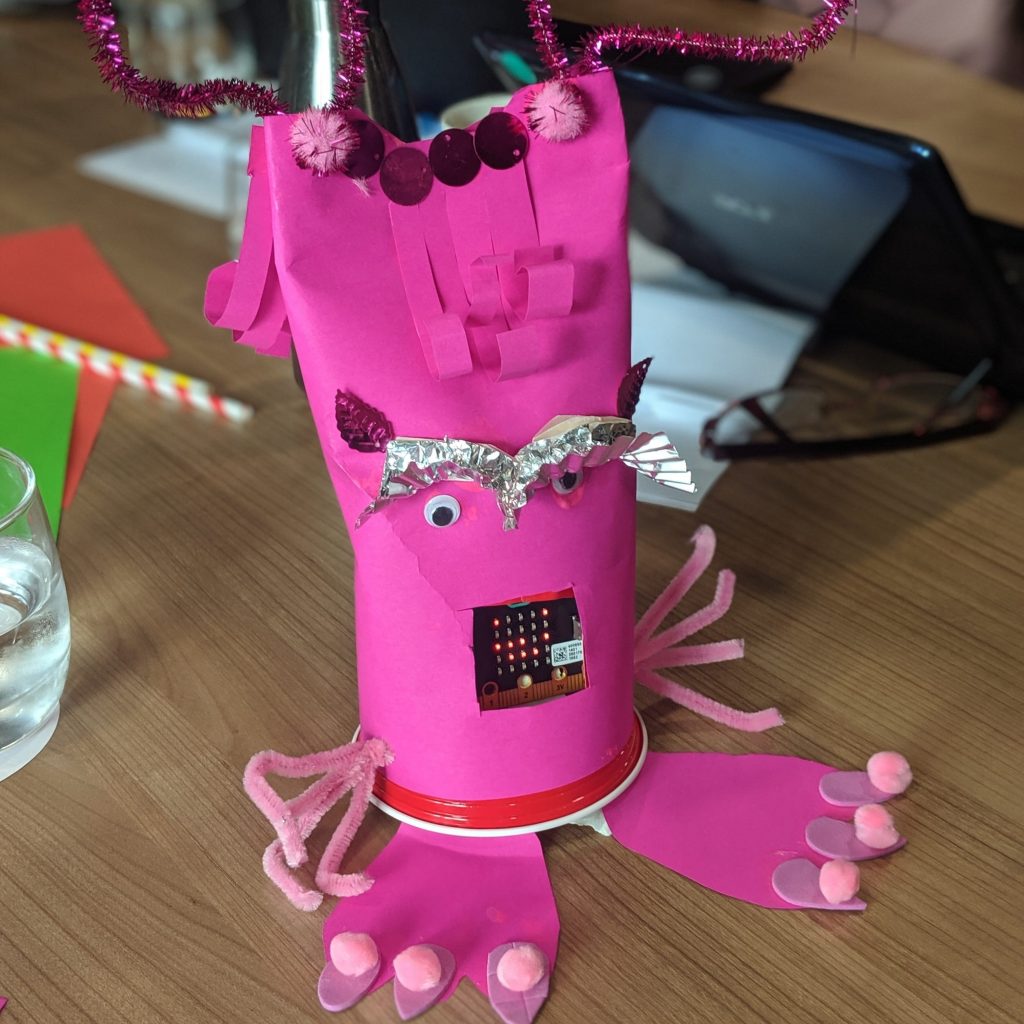
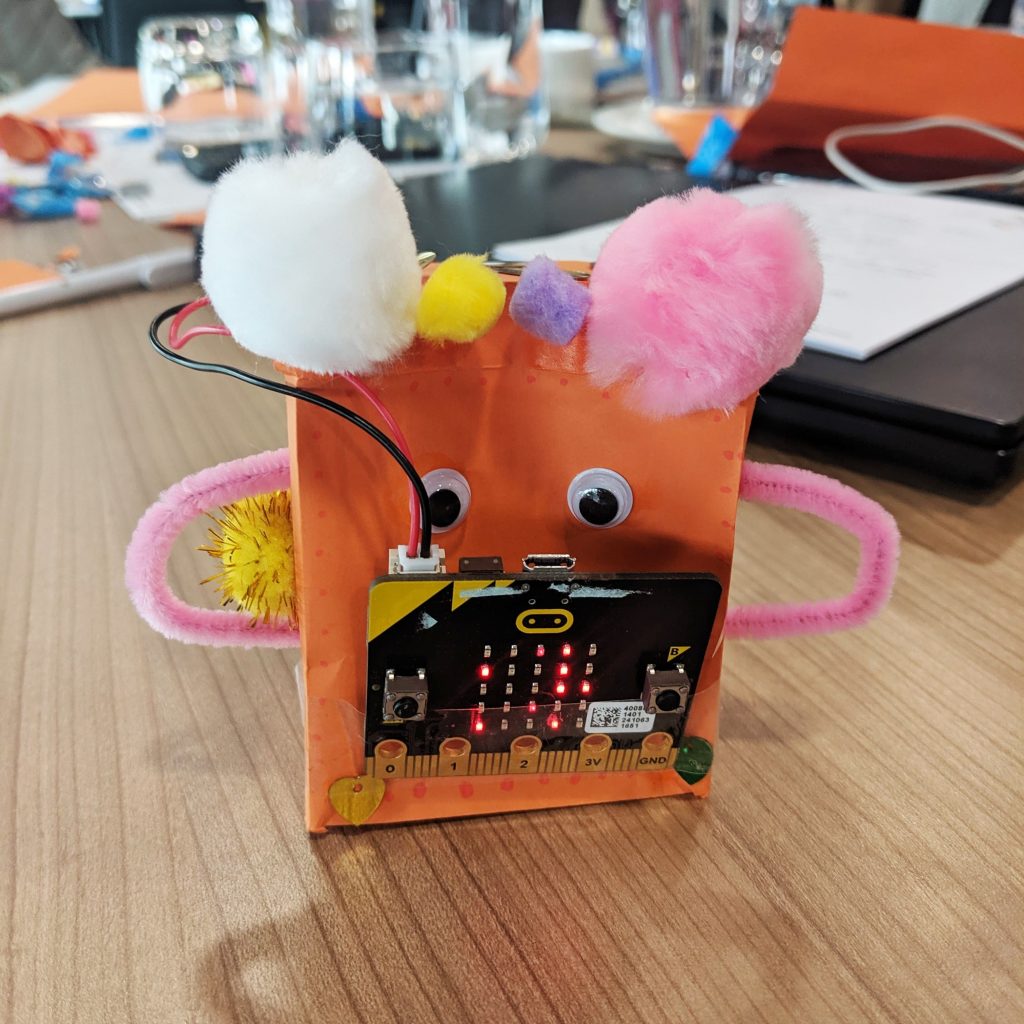
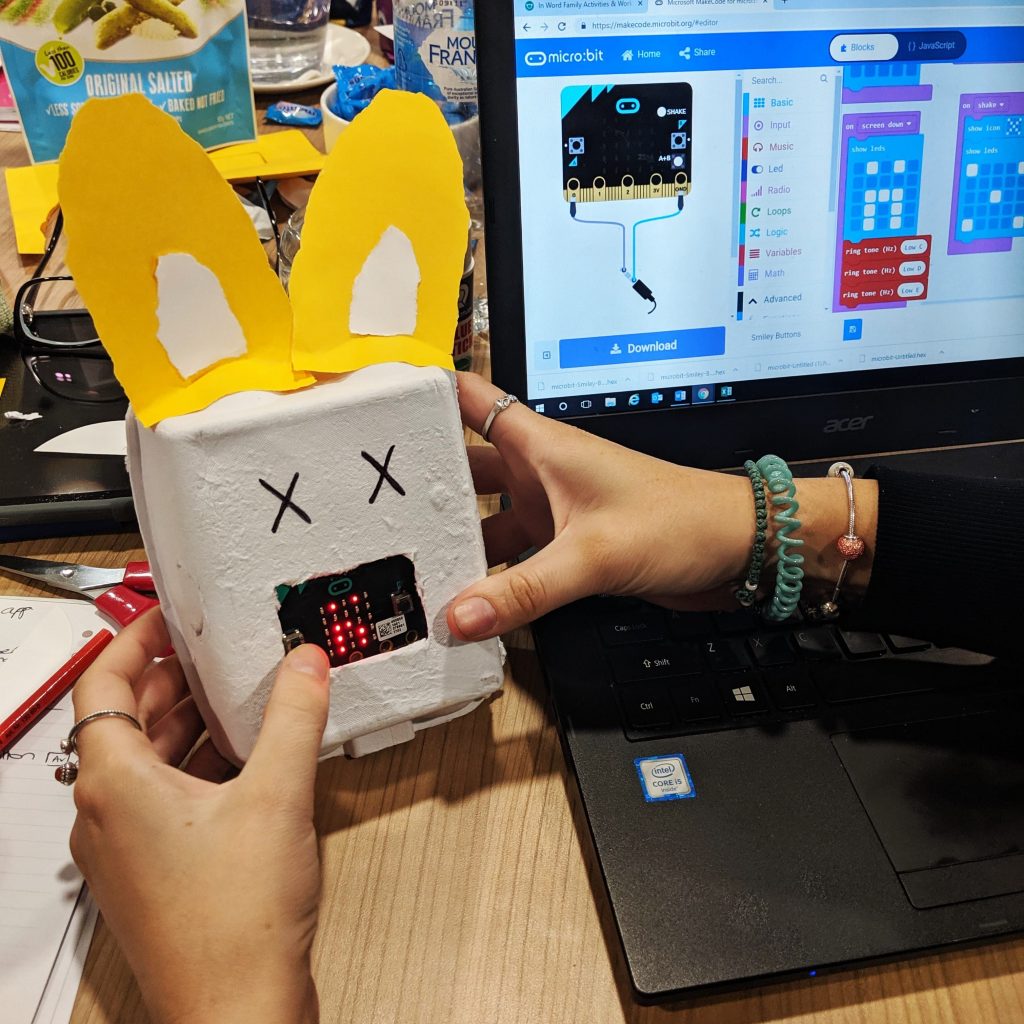
17. Get hands-on
Just because you’re teaching remotely doesn’t mean you can’t give your students a hands-on, engaging experience!
18. Have a well-thought out physical space in which to work
You need to be comfortable at home in order to deliver remote learning lessons well. Set up a space that works for you – and let the people you live with know when you’ll be on video!
Do you have any other tips for Remote Teaching? We would love to hear from you!
ABOUT THE AUTHOR
This guest blog was written by Arduino Education
Arduino Education classroom programs progress students through STEAM from middle school to university, increasing in complexity to challenge them as they develop their skills.
All programs include a range of electronics such as programmable boards, sensors, mechanical parts, simple open-source software, online content for students, and guided training and support for educators.
The products students learn with are the same as those used professionally in companies around the world, in applications like rapid prototyping, AI, drone technology, and machine learning.
Check MTA’s Arduino Education Range
Shop MTA>
Blog Home>
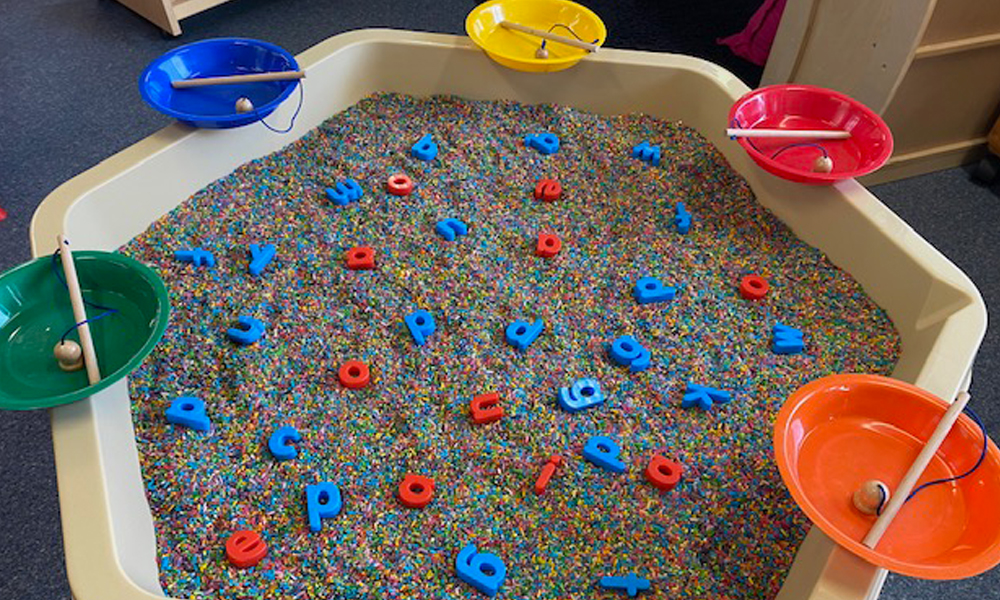


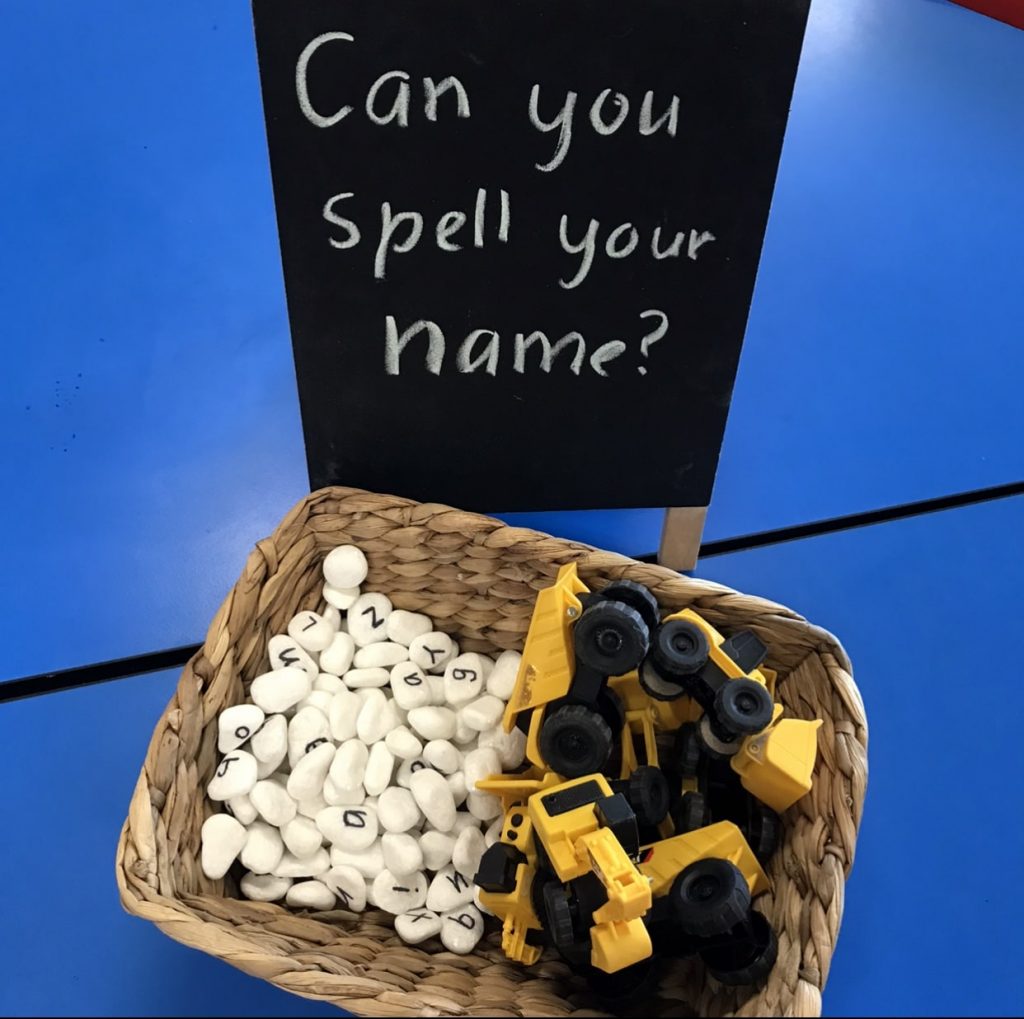
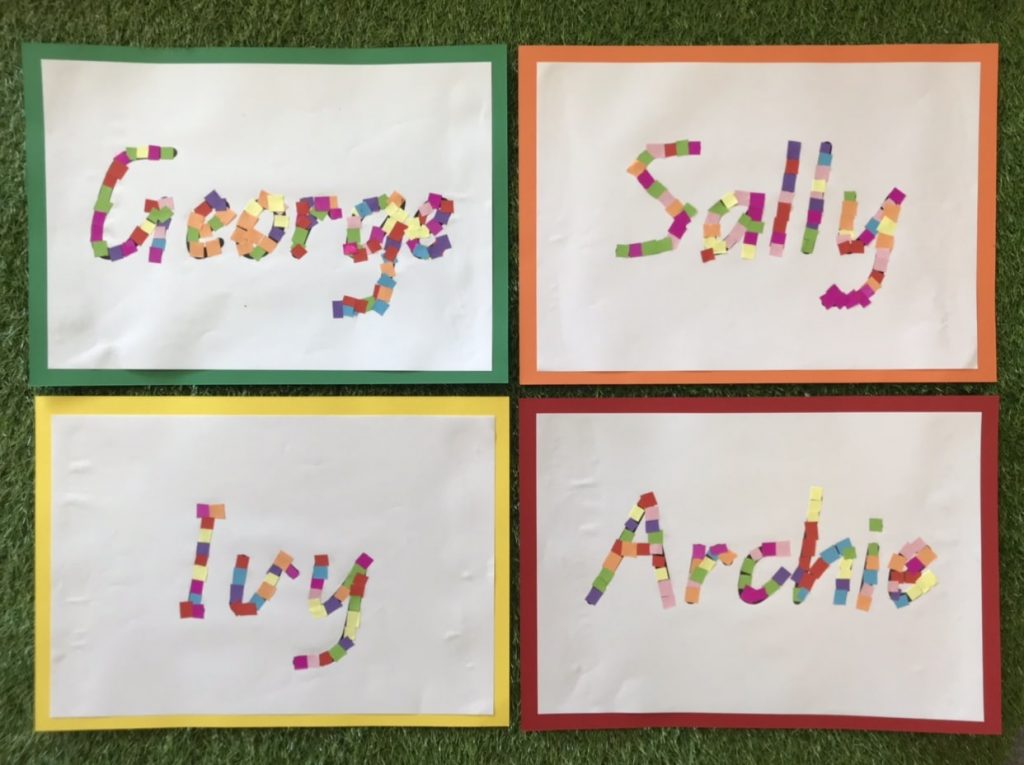
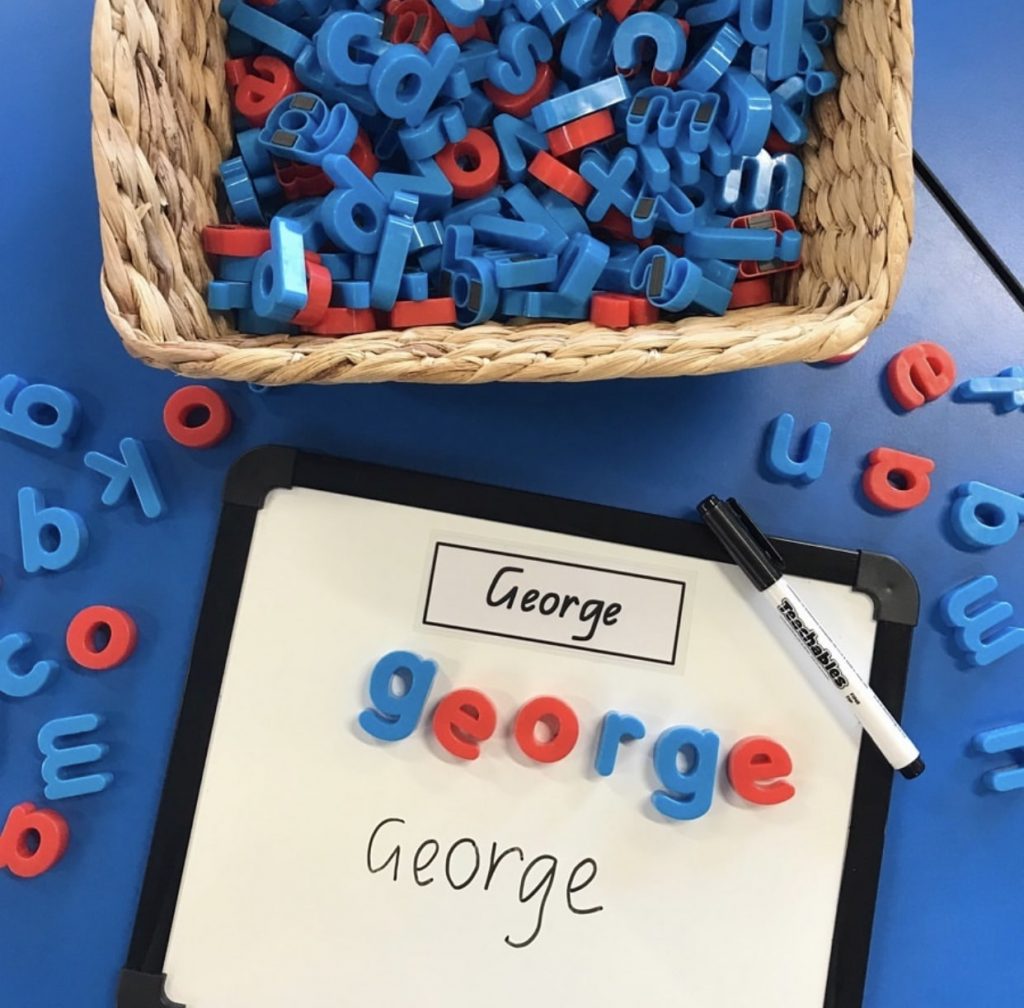
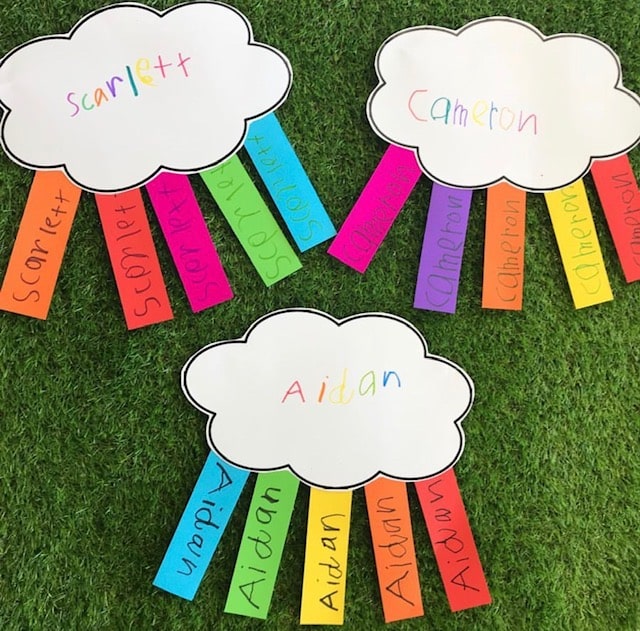
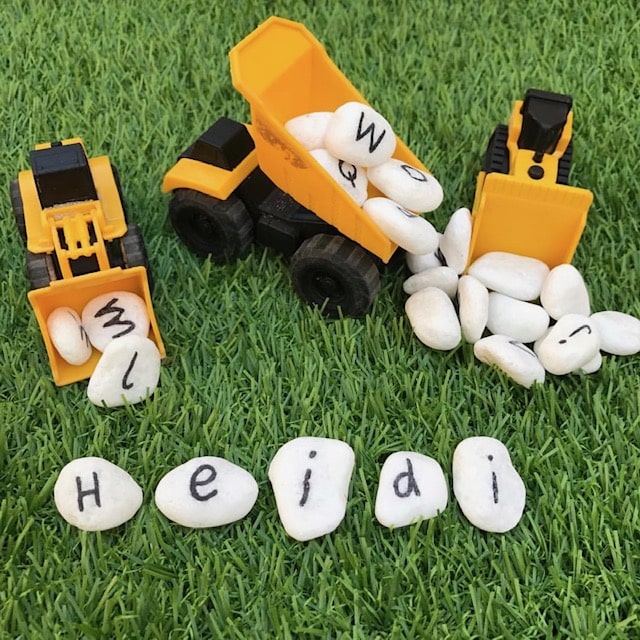 It’s a super fun and engaging activity that encourages students to recognise and find the letters in their name and then assemble the alphabet rocks in the correct order.


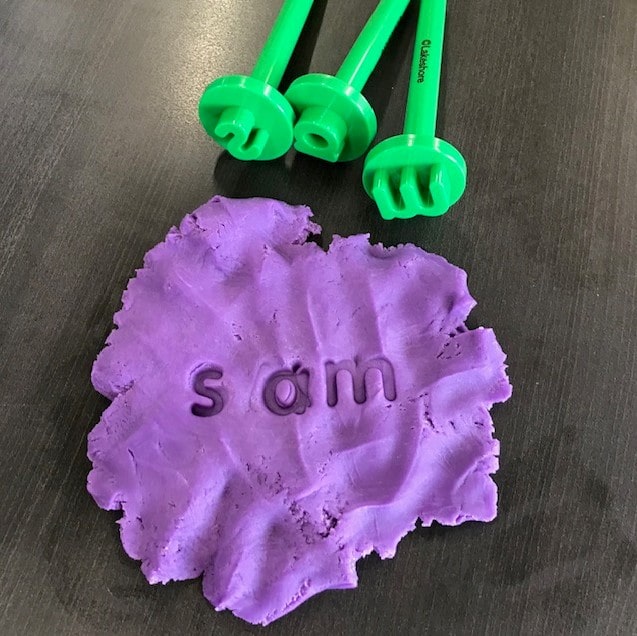
 Materials: